> ## Documentation Index
> Fetch the complete documentation index at: https://docs.repromptai.com/llms.txt
> Use this file to discover all available pages before exploring further.
# Use Workbook Agents in the API
> Create an agent in a workbook, enable it for API use, and manage versions
## Overview
This guide walks through creating a workbook agent called **Attraction Rating** (rates attractions on a 1-10 scale), enabling it for API use, and managing versions.
## 1) Create the agent in a workbook
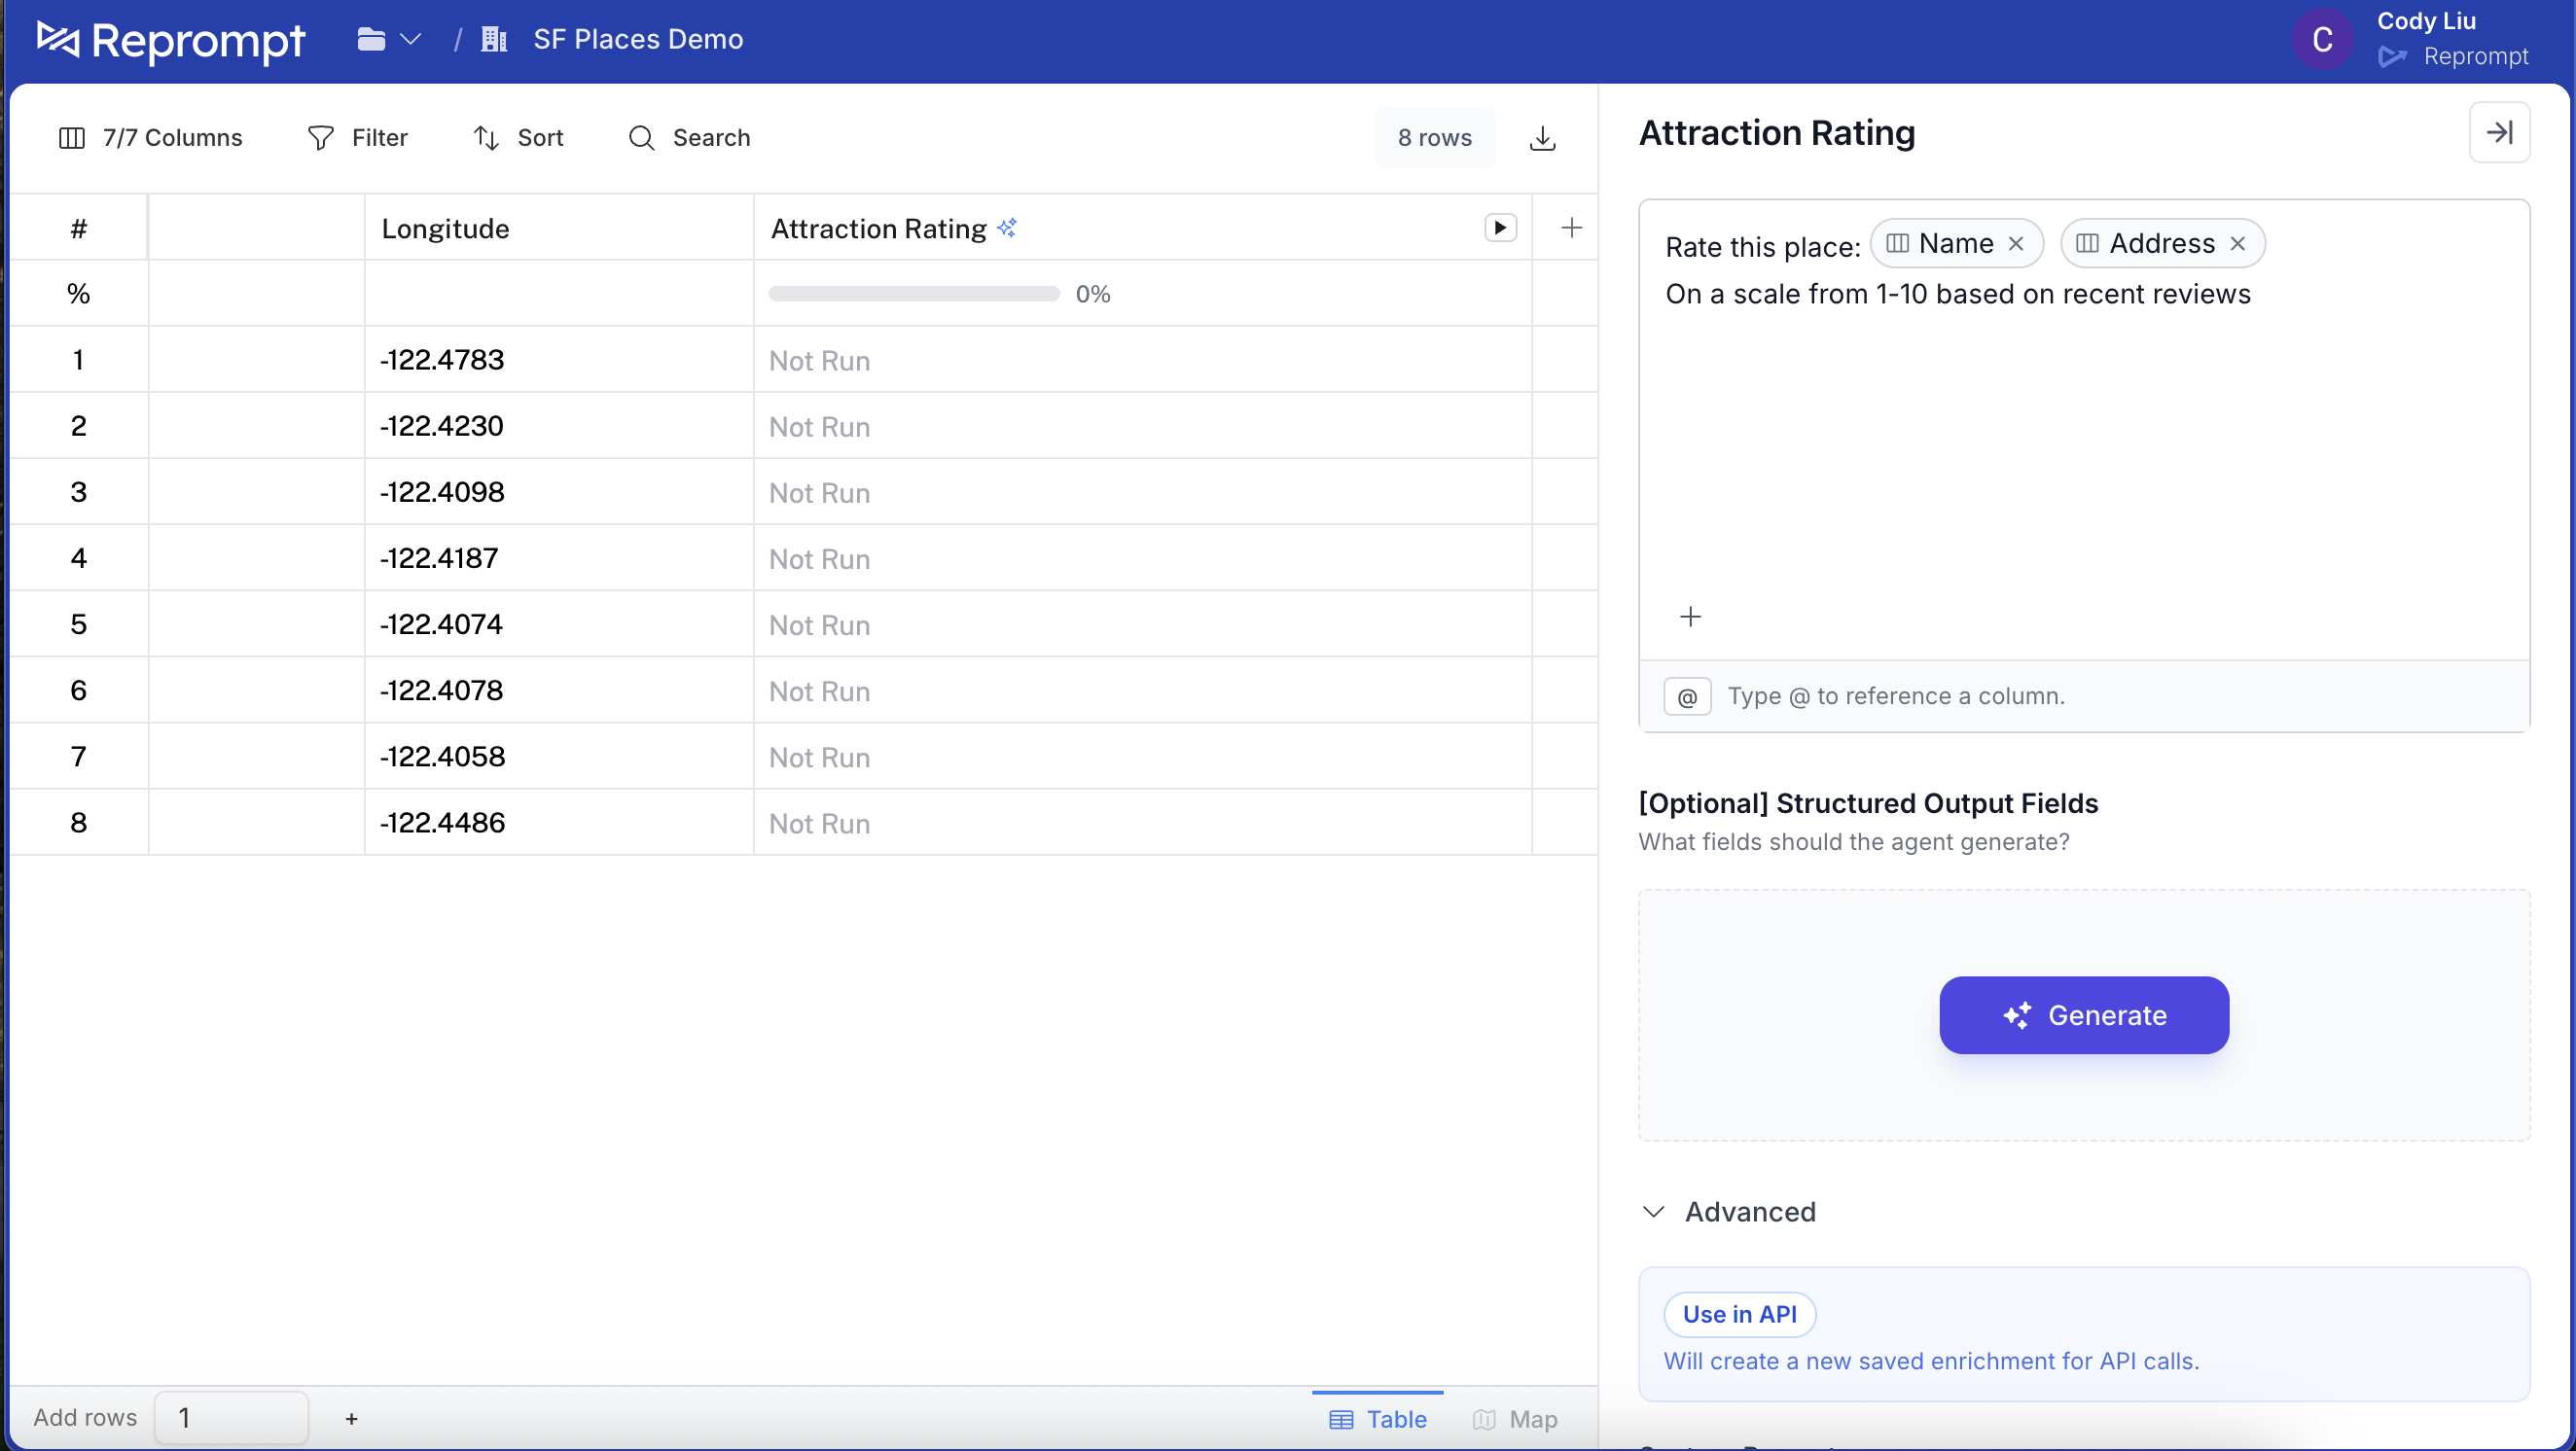
Open the agent pane and create a new agent.
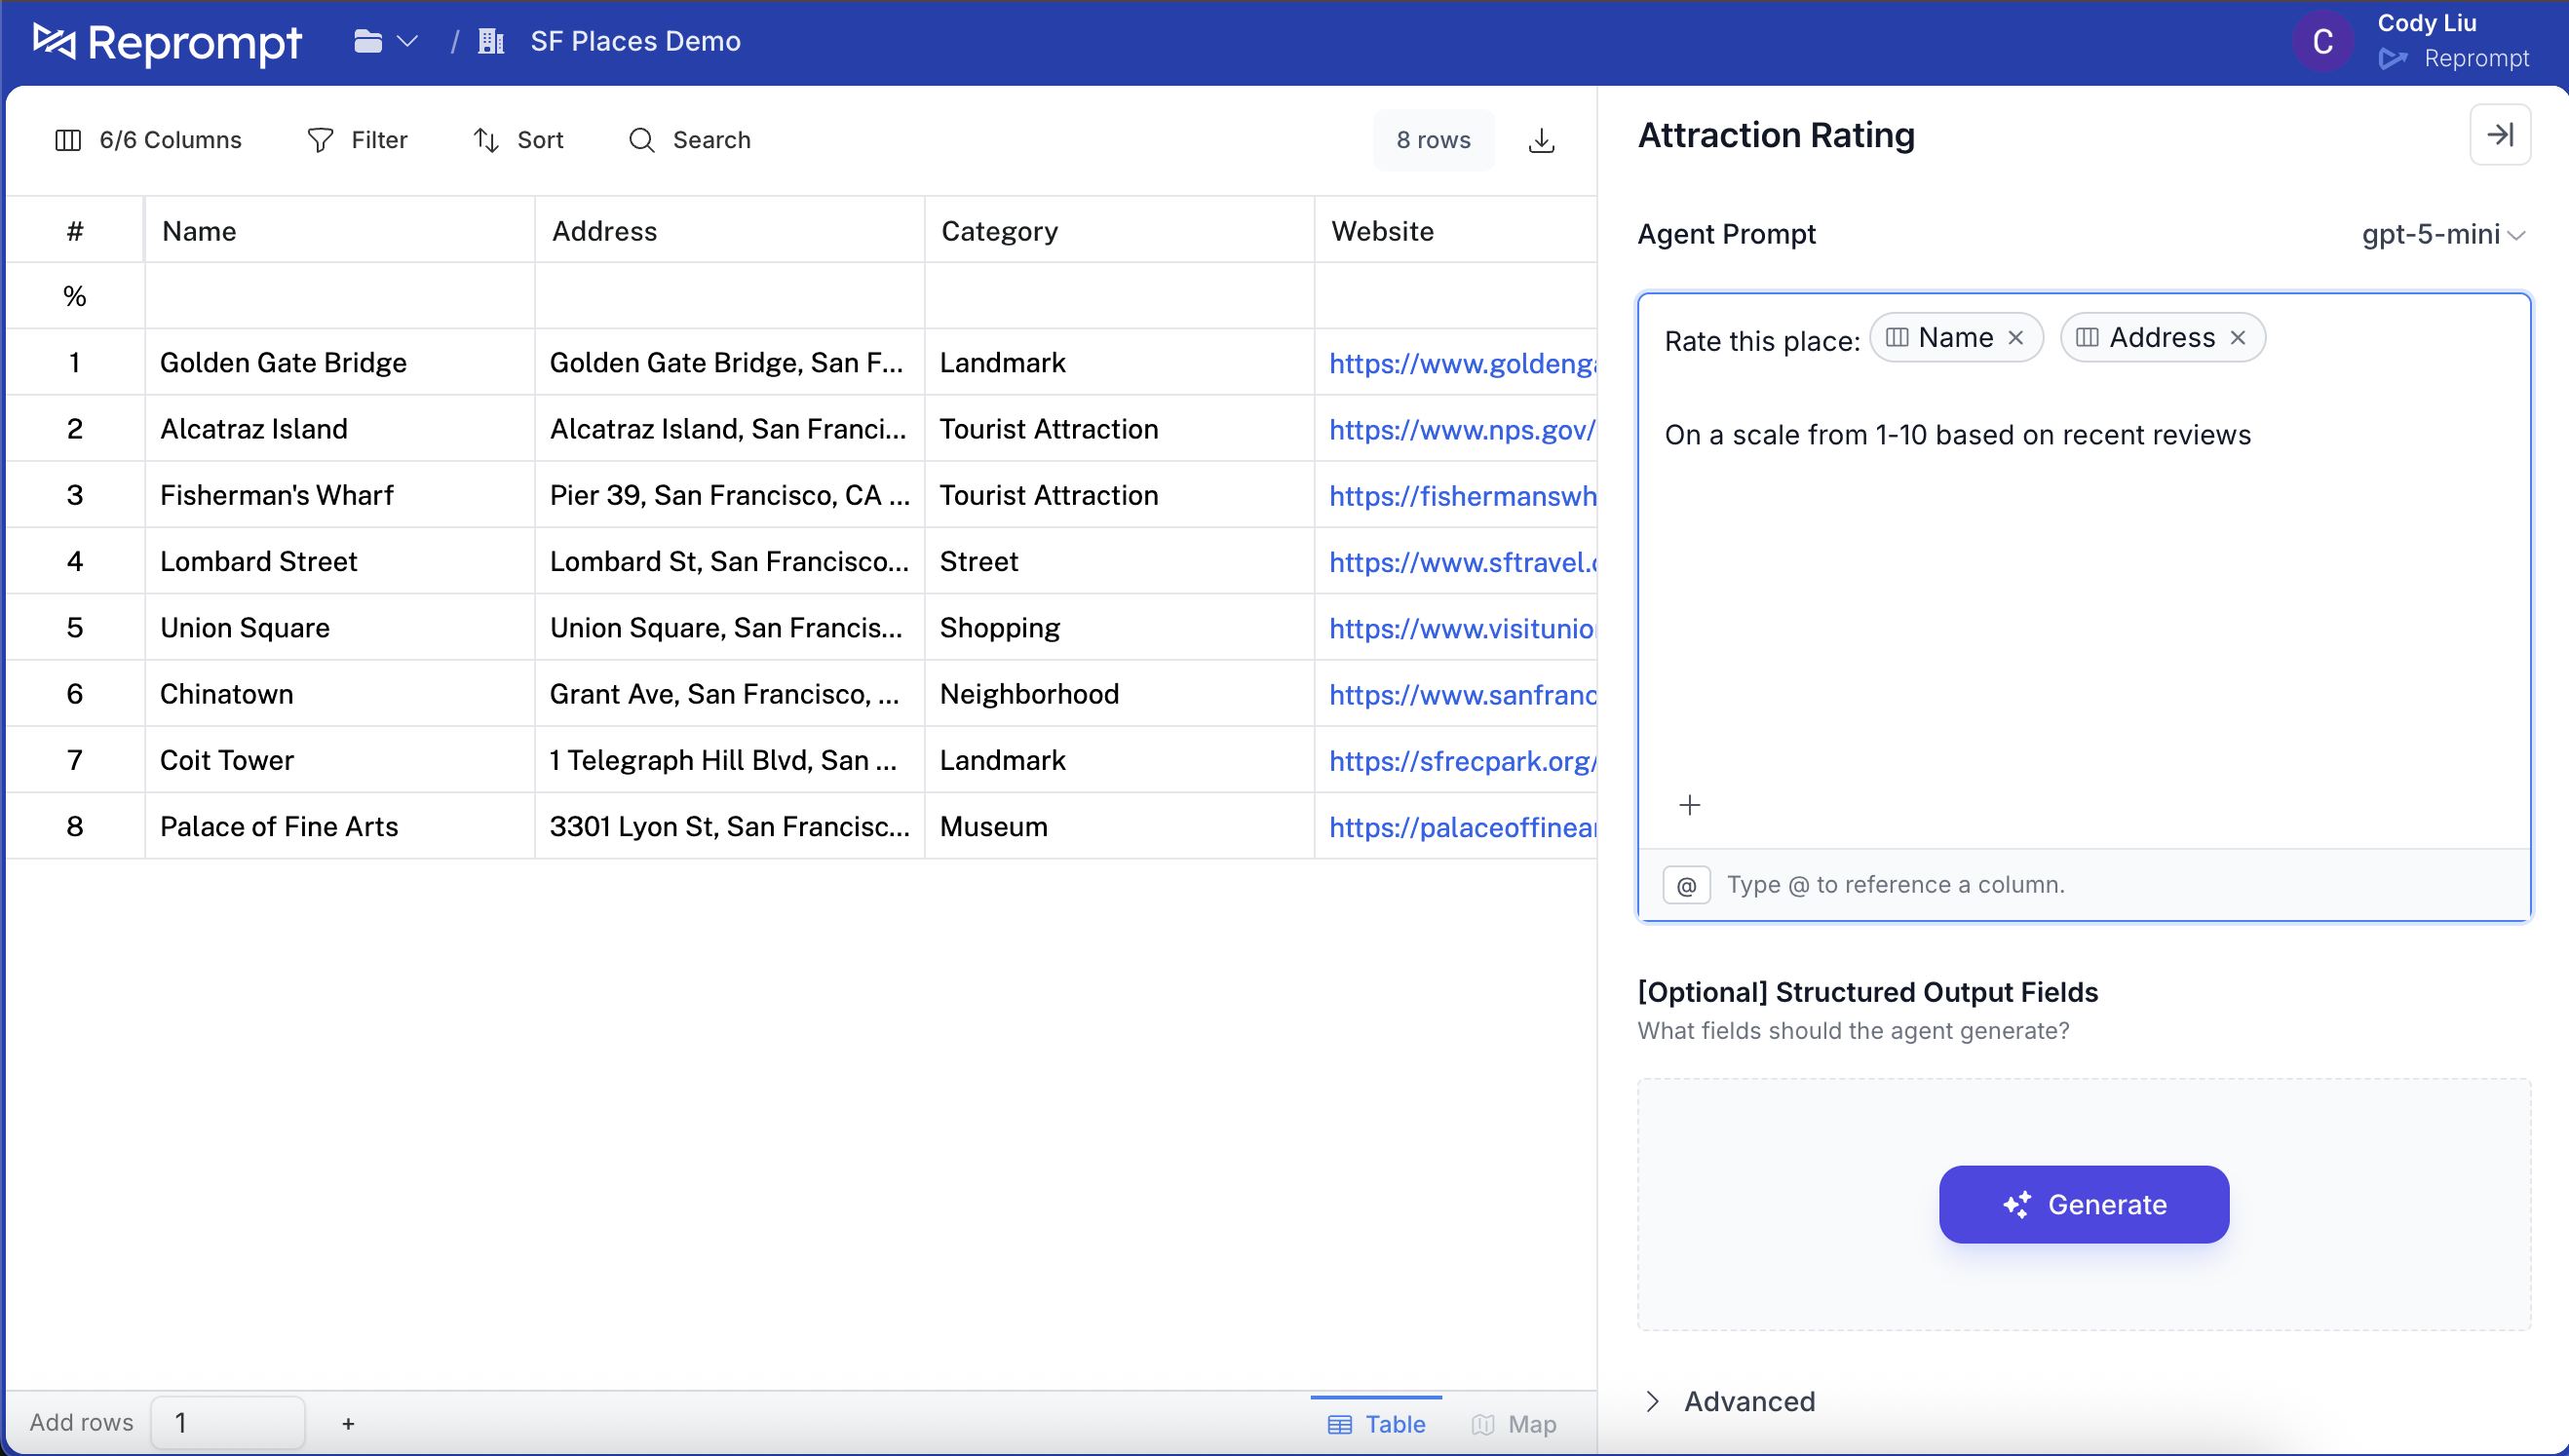 Add the prompt, then scroll down and click **Add column**.
 ## 2) Edit the agent settings
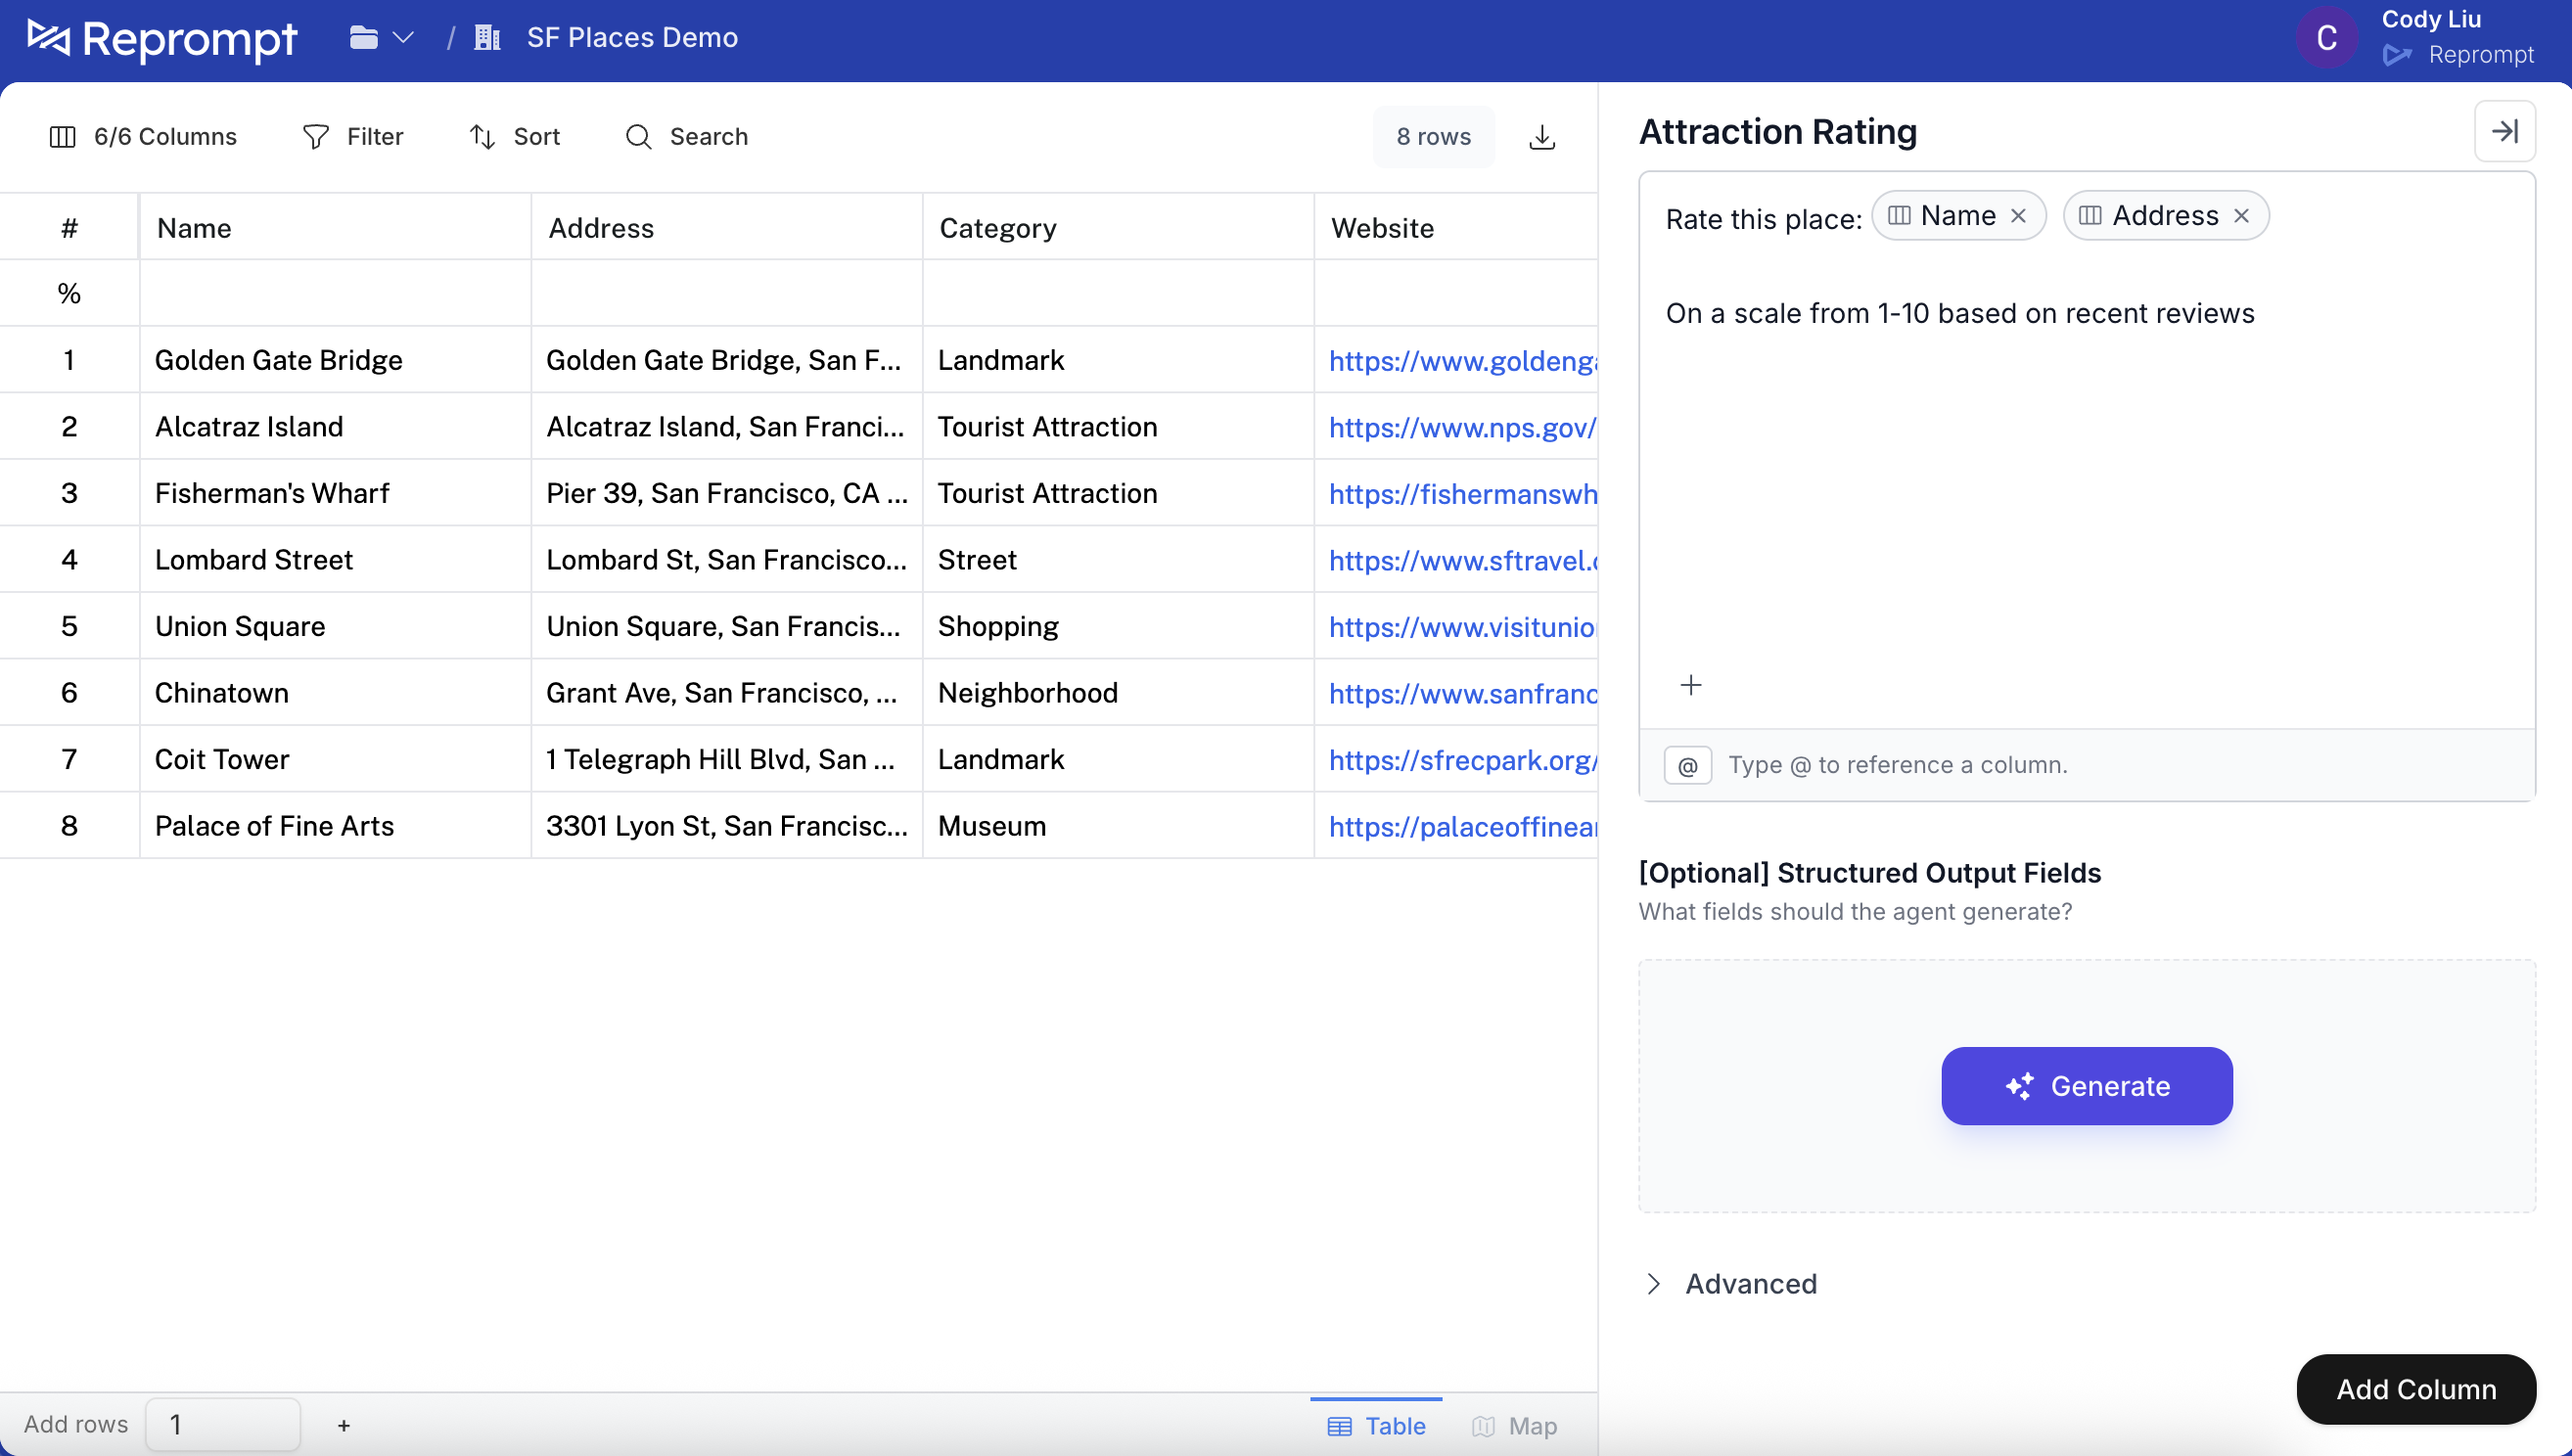
After the column is added to the table, click the column header and select **Edit agent**.
## 2) Edit the agent settings
After the column is added to the table, click the column header and select **Edit agent**.
 ## 3) Enable API usage
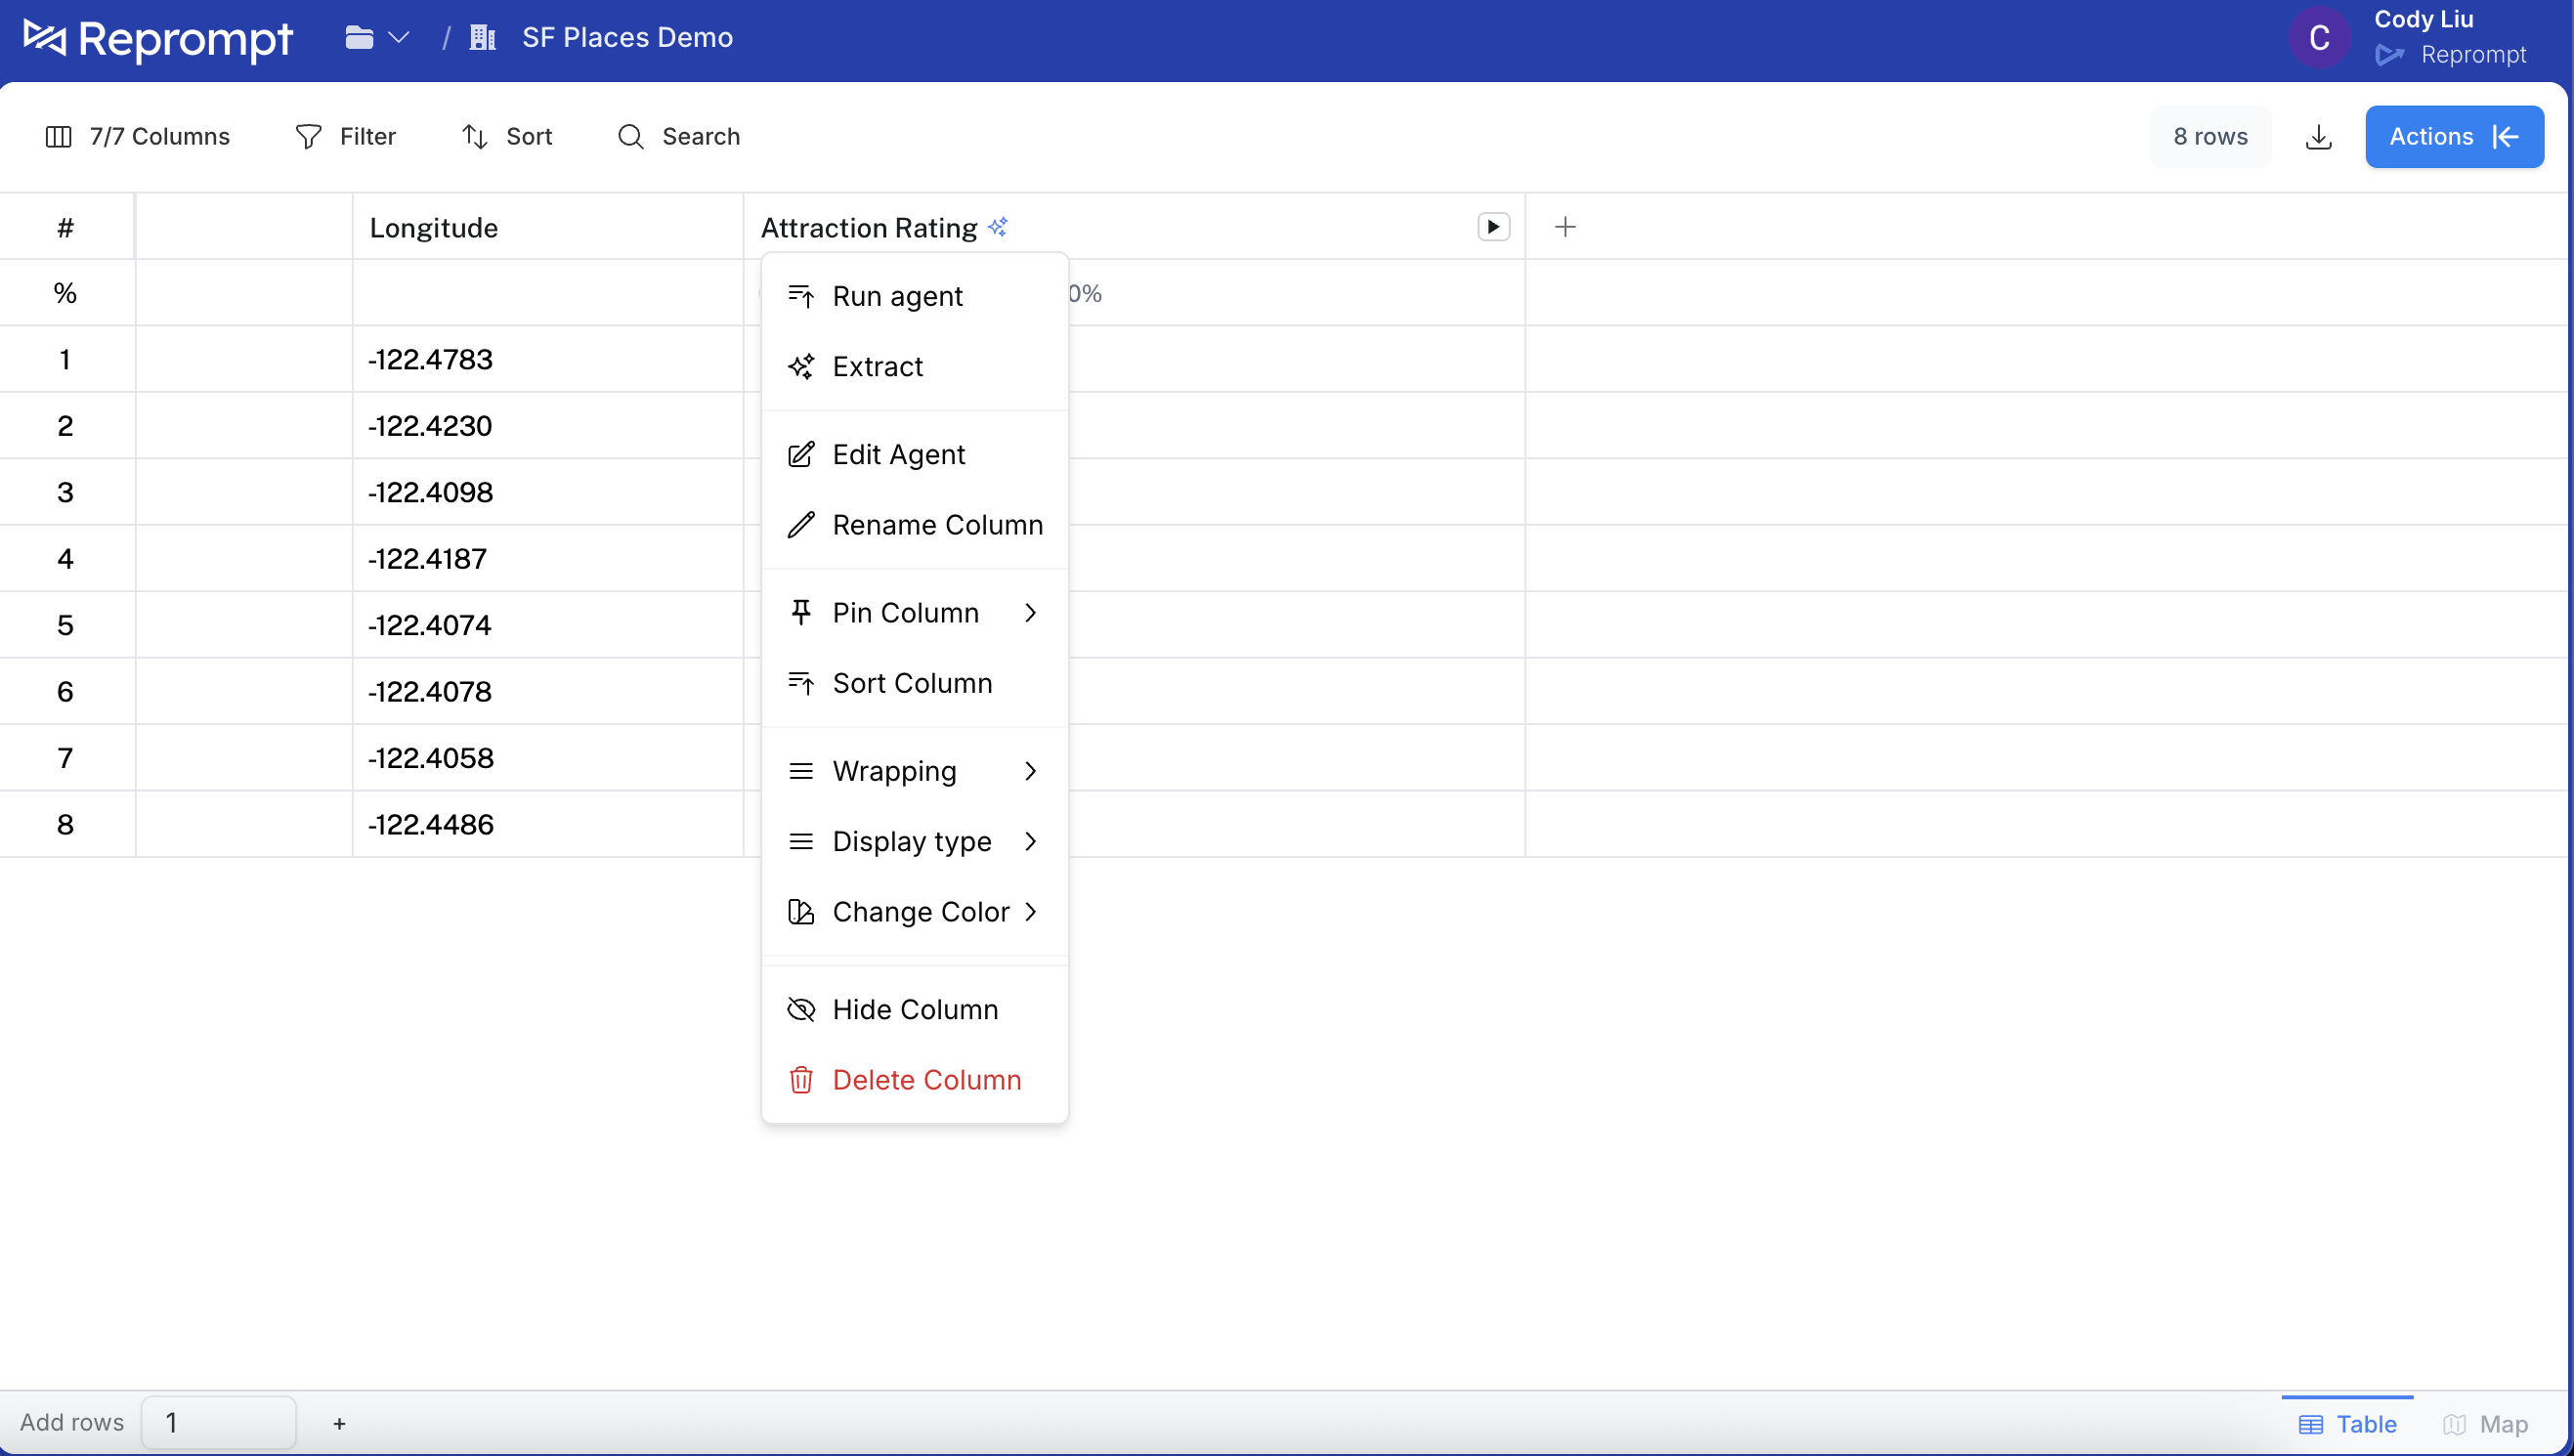
In the agent editor, click **Advanced** and then click **Use in API**.
## 3) Enable API usage
In the agent editor, click **Advanced** and then click **Use in API**.
 This opens the API enablement panel. You can add a description and optionally rename the API attribute. This is a preview of the agent you are adding.
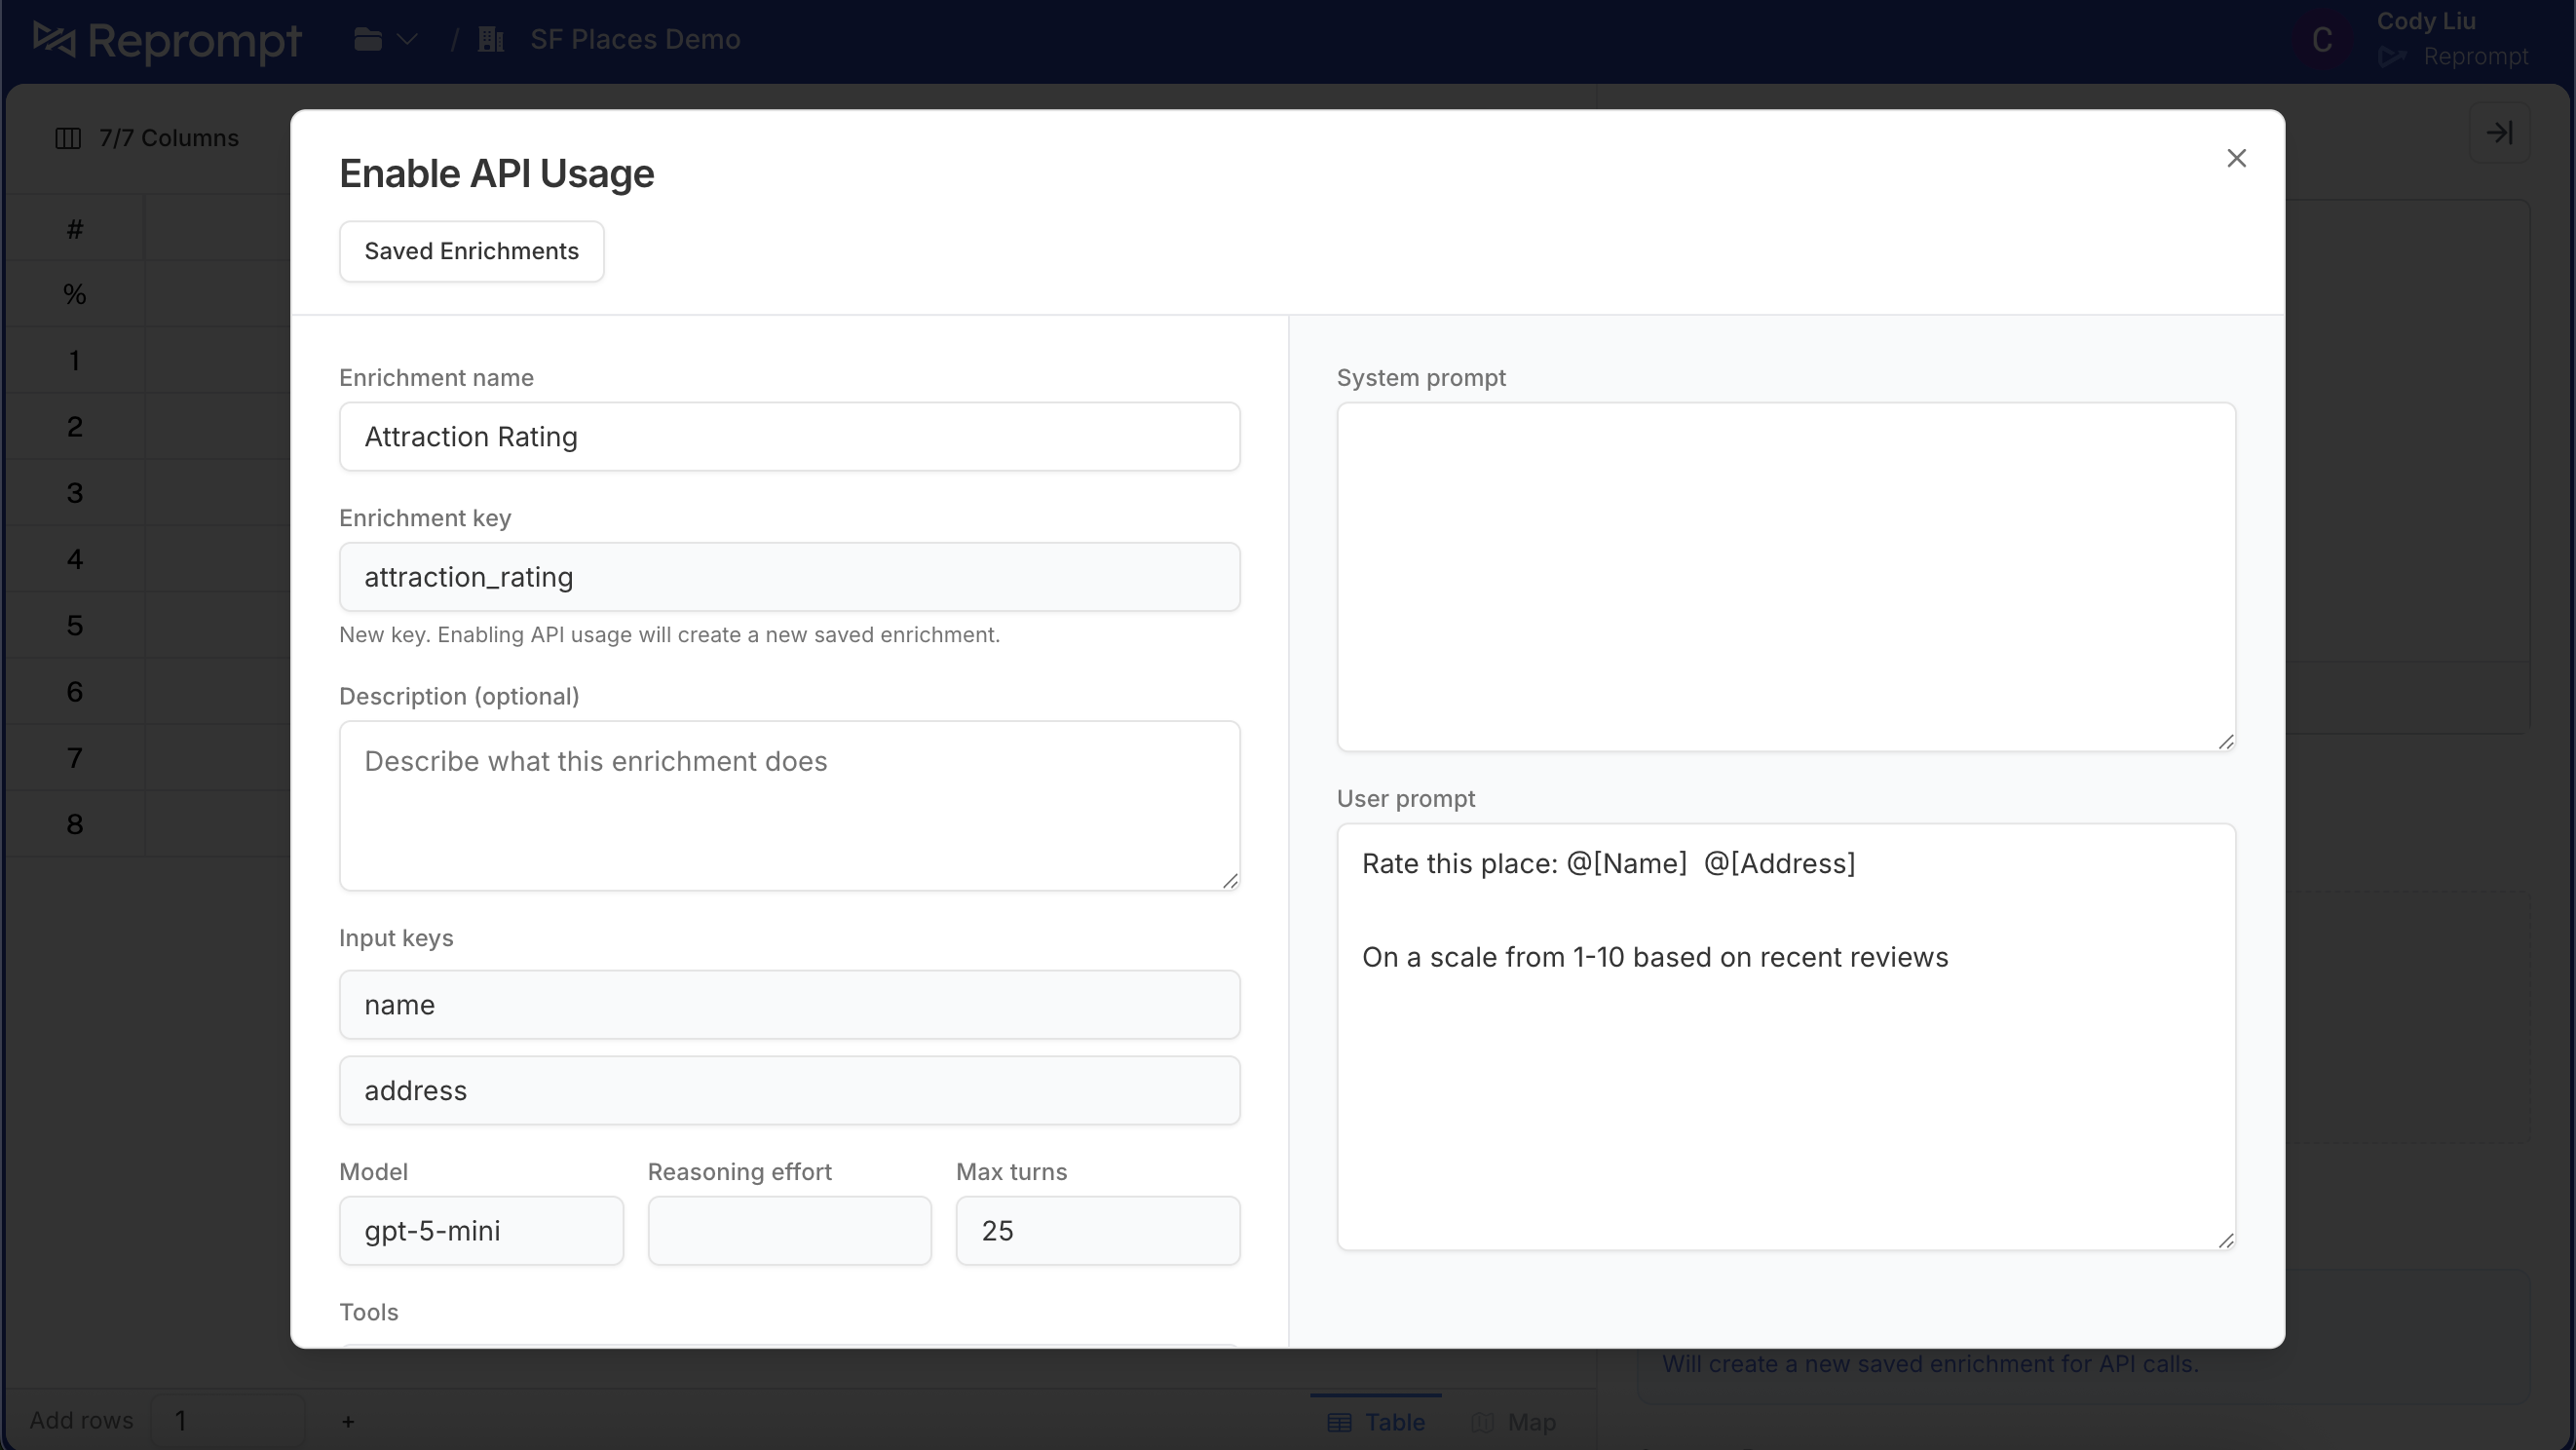 Scroll down and click **Enable API usage**.
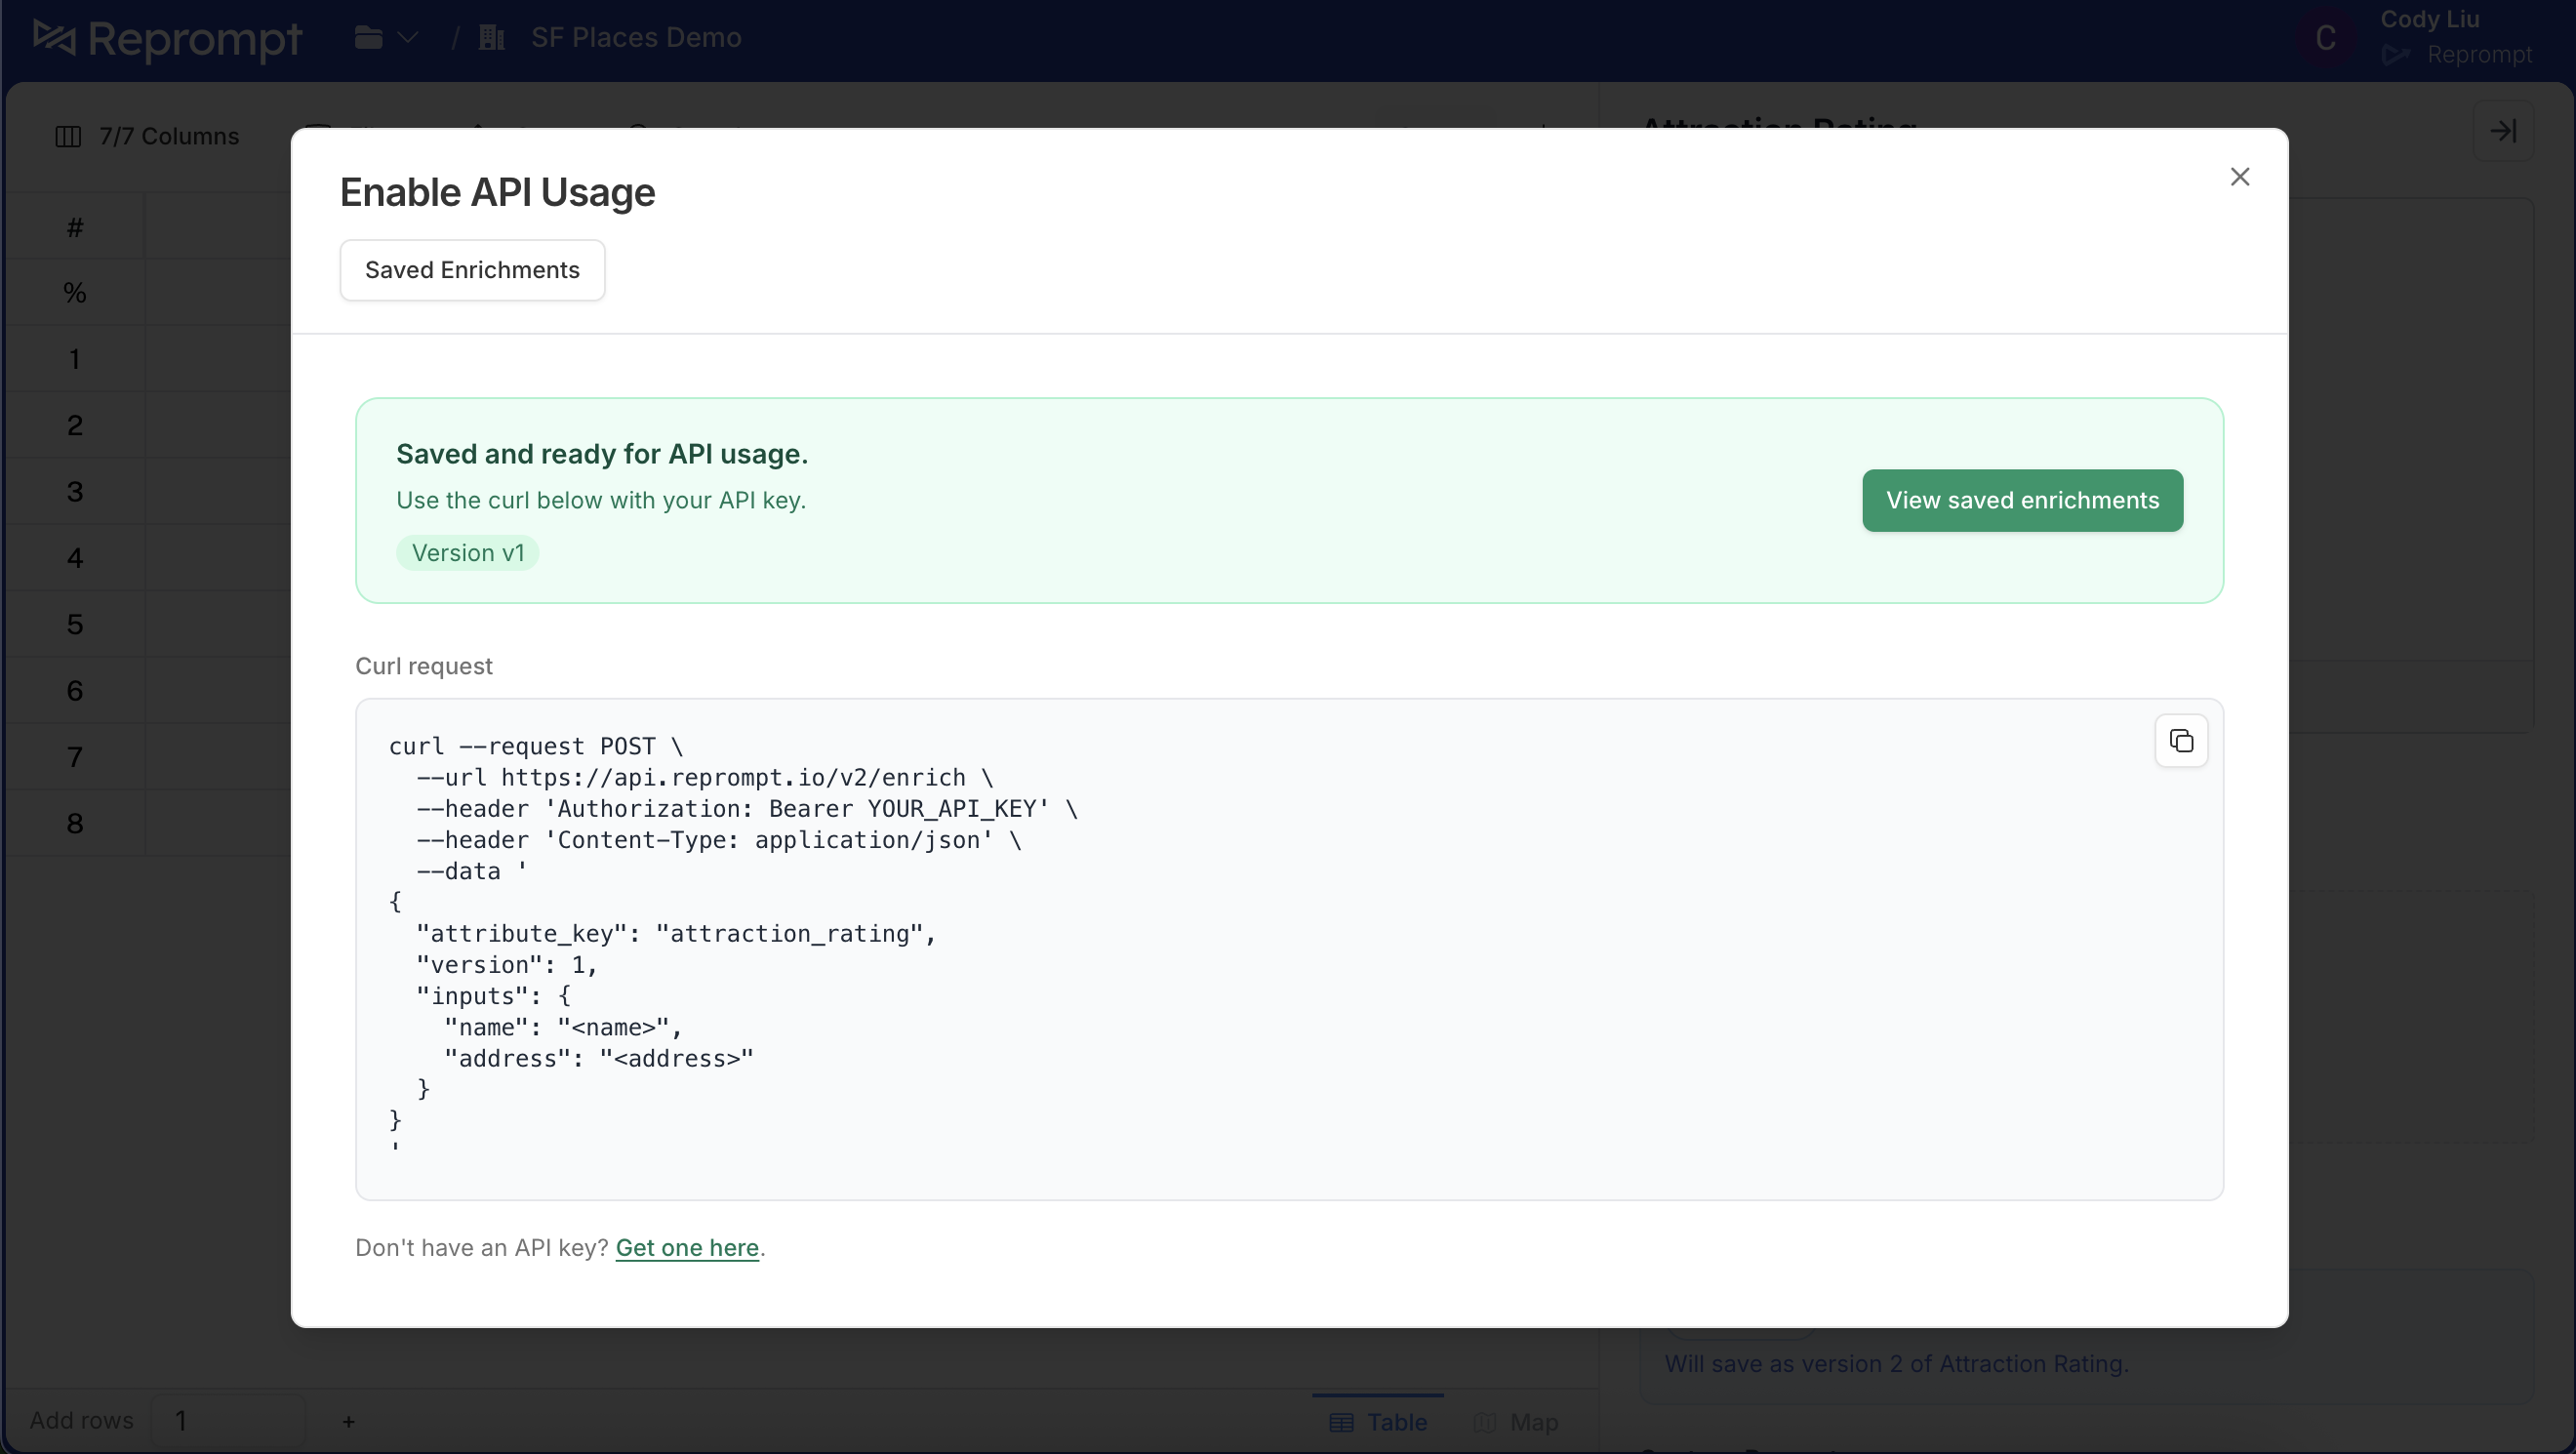
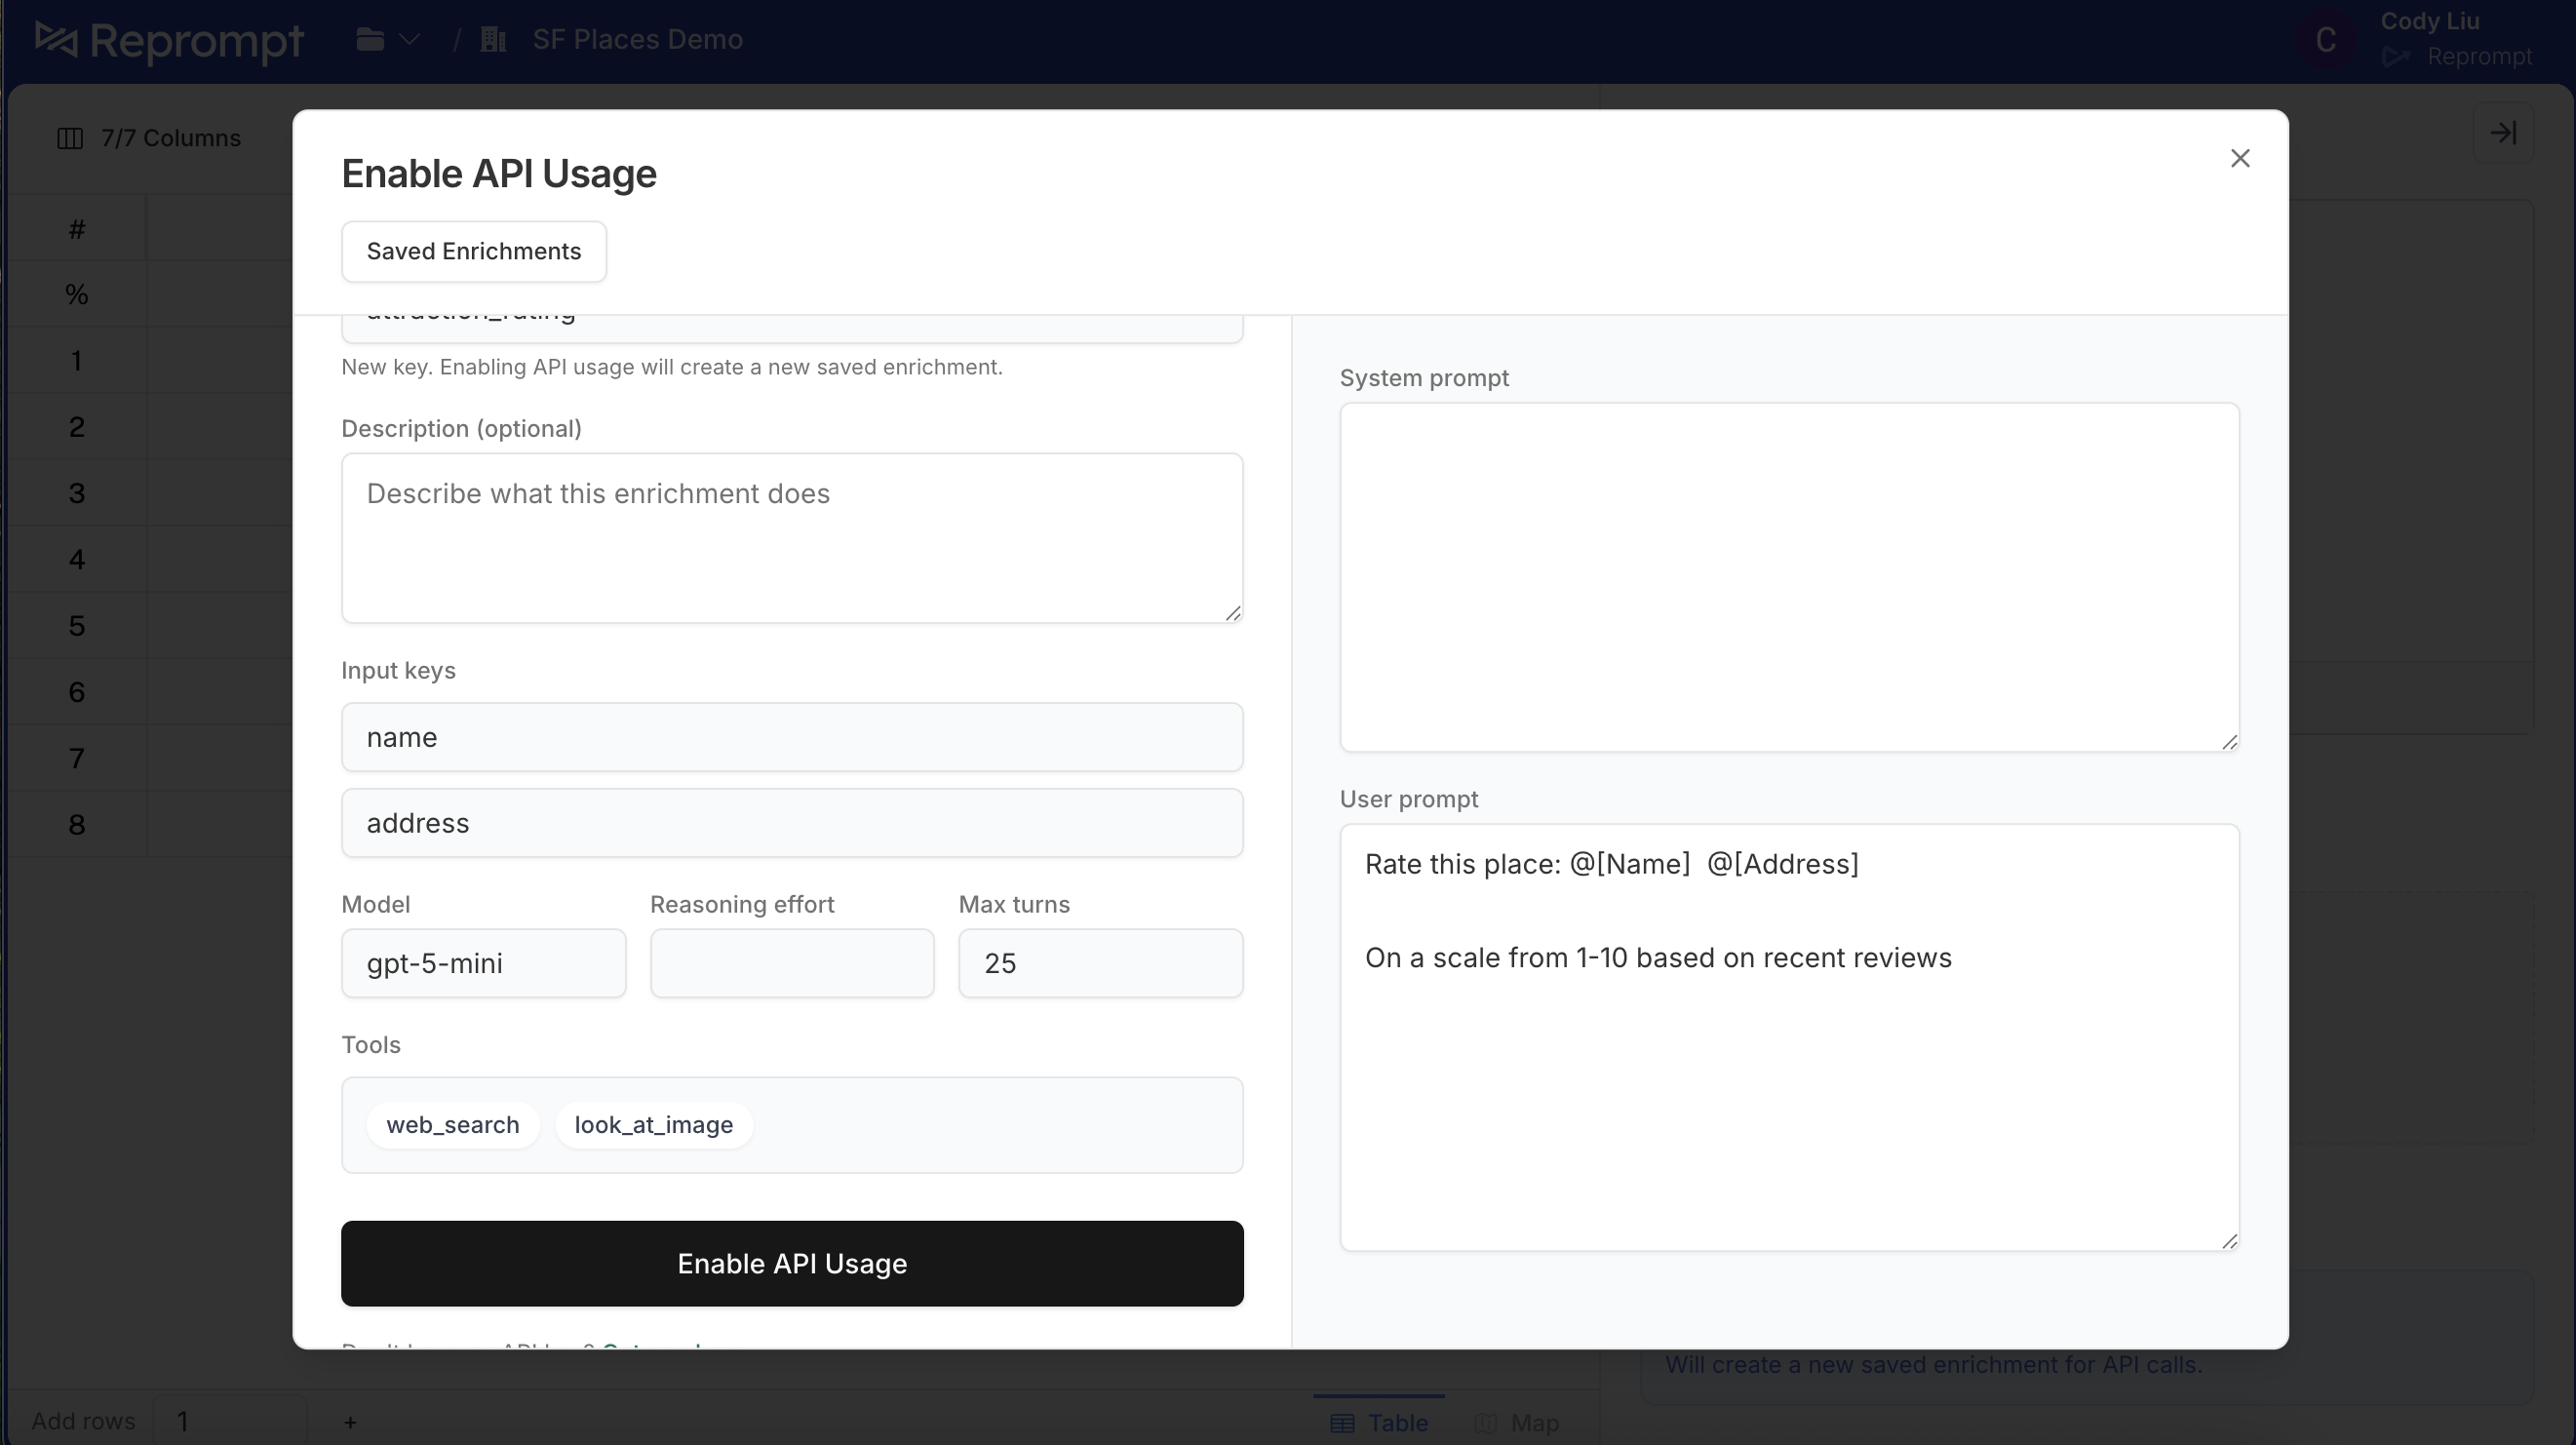 Once enabled, you will see a confirmation that it is ready to use.
 ## 4) Call the agent from the API
Use the `attribute_key` shown in the UI with the `/enrich` endpoint.
```bash cURL theme={null}
# Use the default version (no version param)
curl --request POST \
--url https://api.reprompt.io/v2/enrich \
--header 'Authorization: Bearer {YOUR_API_KEY}' \
--header 'Content-Type: application/json' \
--data '{
"attribute_key": "attraction_rating",
"inputs": {
"name": "Golden Gate Bridge",
"full_address": "Golden Gate Bridge, San Francisco, CA"
}
}'
```
```bash cURL theme={null}
# Call a specific version
curl --request POST \
--url 'https://api.reprompt.io/v2/enrich?version=1' \
--header 'Authorization: Bearer {YOUR_API_KEY}' \
--header 'Content-Type: application/json' \
--data '{
"attribute_key": "attraction_rating",
"inputs": {
"name": "Golden Gate Bridge",
"full_address": "Golden Gate Bridge, San Francisco, CA"
}
}'
```
## 5) Edit the agent and create a new version
To make changes, return to the agent editor, update the prompt, and click **Use in API** again. The text below will show which version you are about to create (for example, “will save as version 2 of Attraction Rating”).
## 4) Call the agent from the API
Use the `attribute_key` shown in the UI with the `/enrich` endpoint.
```bash cURL theme={null}
# Use the default version (no version param)
curl --request POST \
--url https://api.reprompt.io/v2/enrich \
--header 'Authorization: Bearer {YOUR_API_KEY}' \
--header 'Content-Type: application/json' \
--data '{
"attribute_key": "attraction_rating",
"inputs": {
"name": "Golden Gate Bridge",
"full_address": "Golden Gate Bridge, San Francisco, CA"
}
}'
```
```bash cURL theme={null}
# Call a specific version
curl --request POST \
--url 'https://api.reprompt.io/v2/enrich?version=1' \
--header 'Authorization: Bearer {YOUR_API_KEY}' \
--header 'Content-Type: application/json' \
--data '{
"attribute_key": "attraction_rating",
"inputs": {
"name": "Golden Gate Bridge",
"full_address": "Golden Gate Bridge, San Francisco, CA"
}
}'
```
## 5) Edit the agent and create a new version
To make changes, return to the agent editor, update the prompt, and click **Use in API** again. The text below will show which version you are about to create (for example, “will save as version 2 of Attraction Rating”).
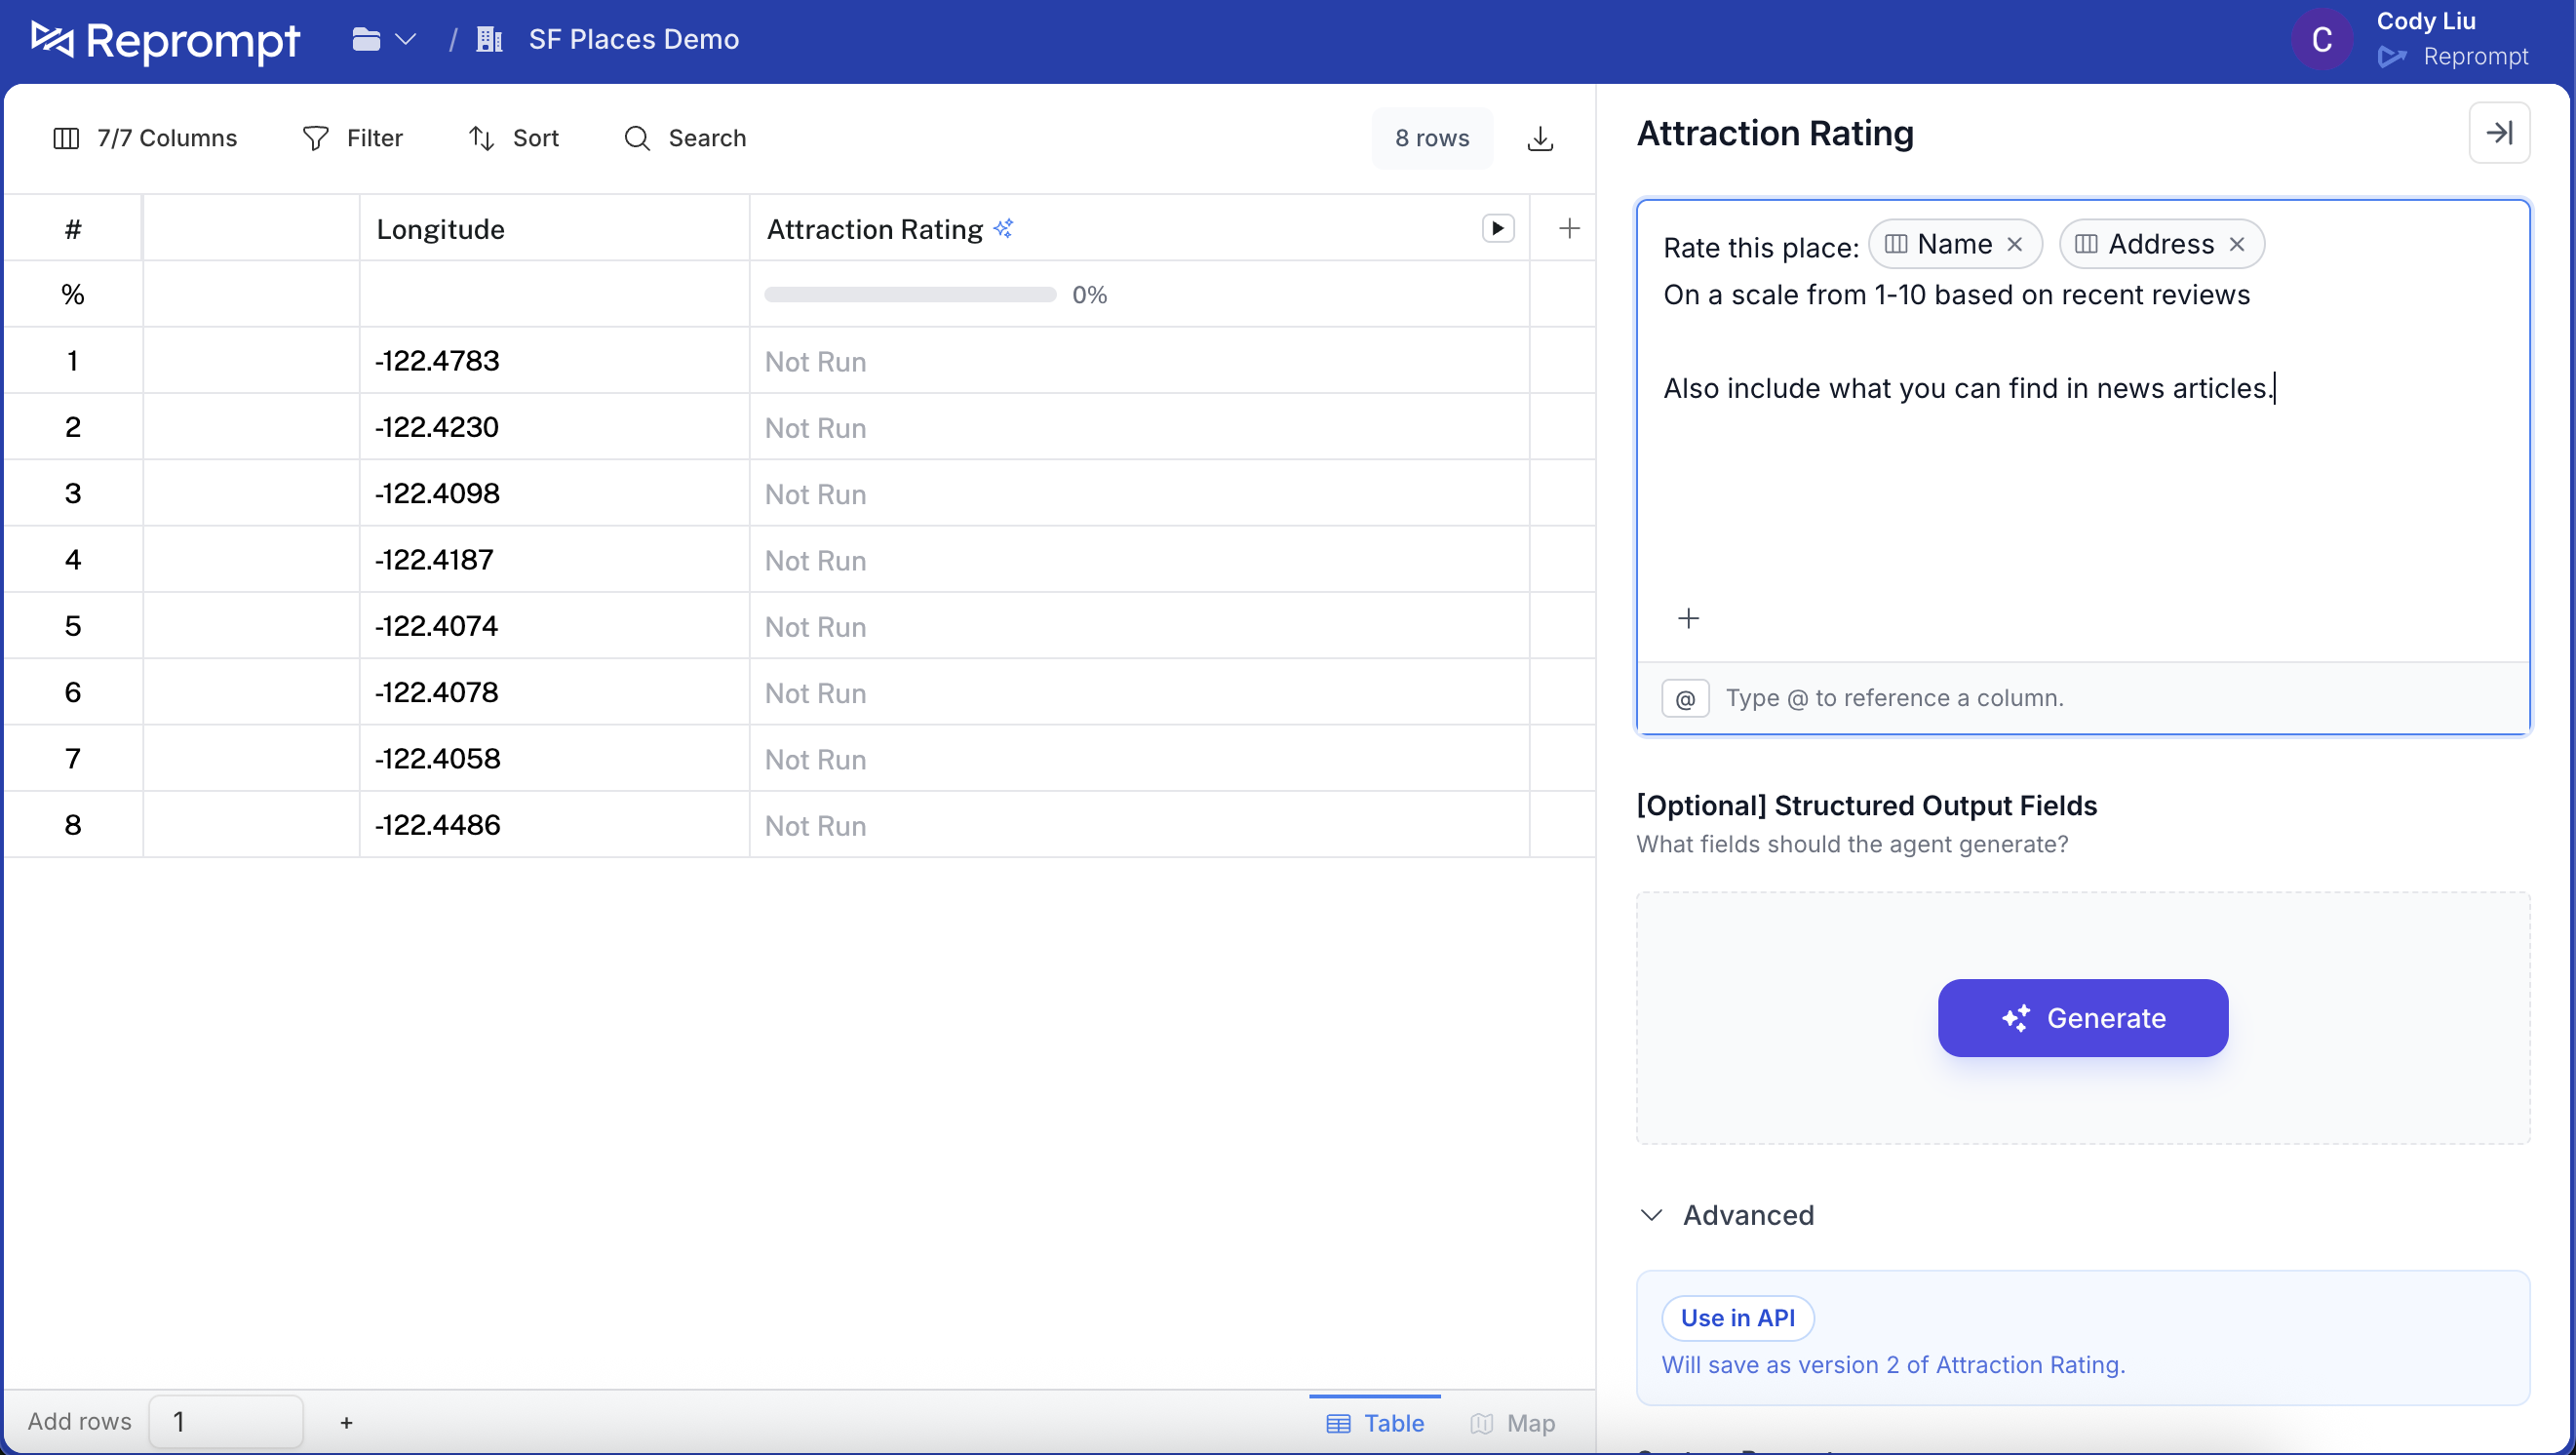 Click **Save**. The confirmation will show which version will be saved.
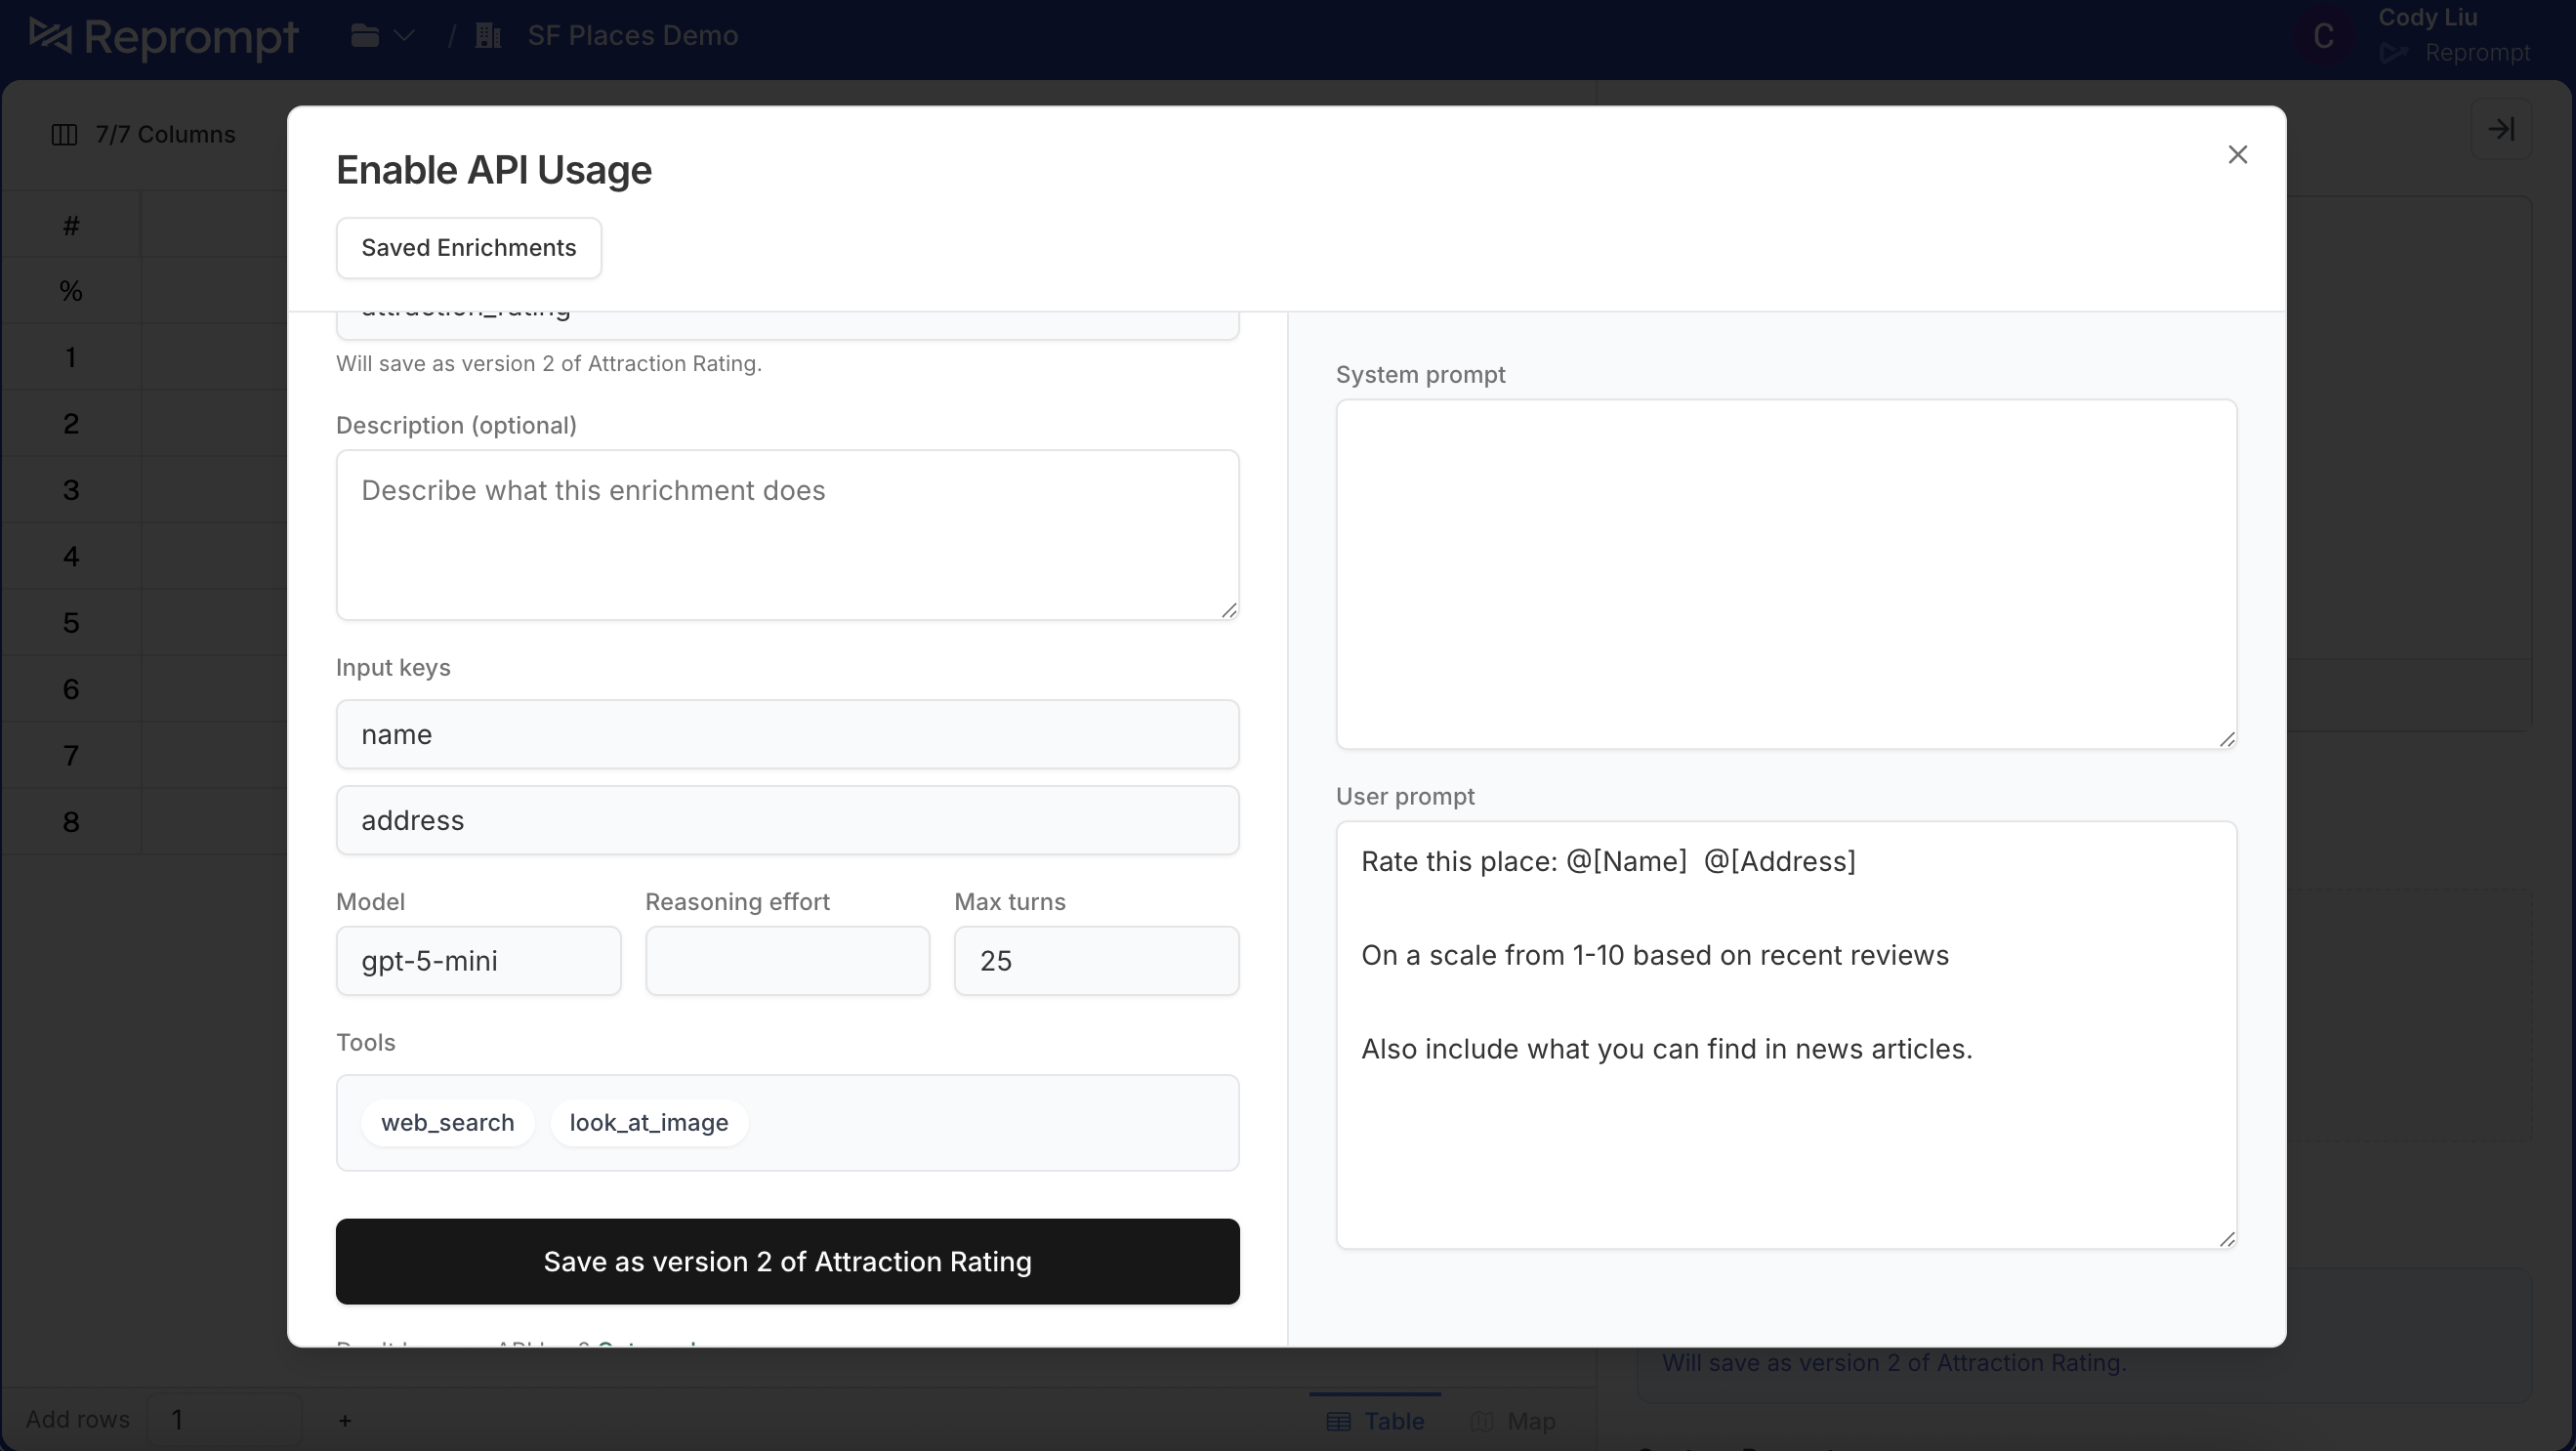 After saving, the agent is ready to use. Any API callers **without** a version parameter will now use the **default** version.
 ## 6) Manage default versions
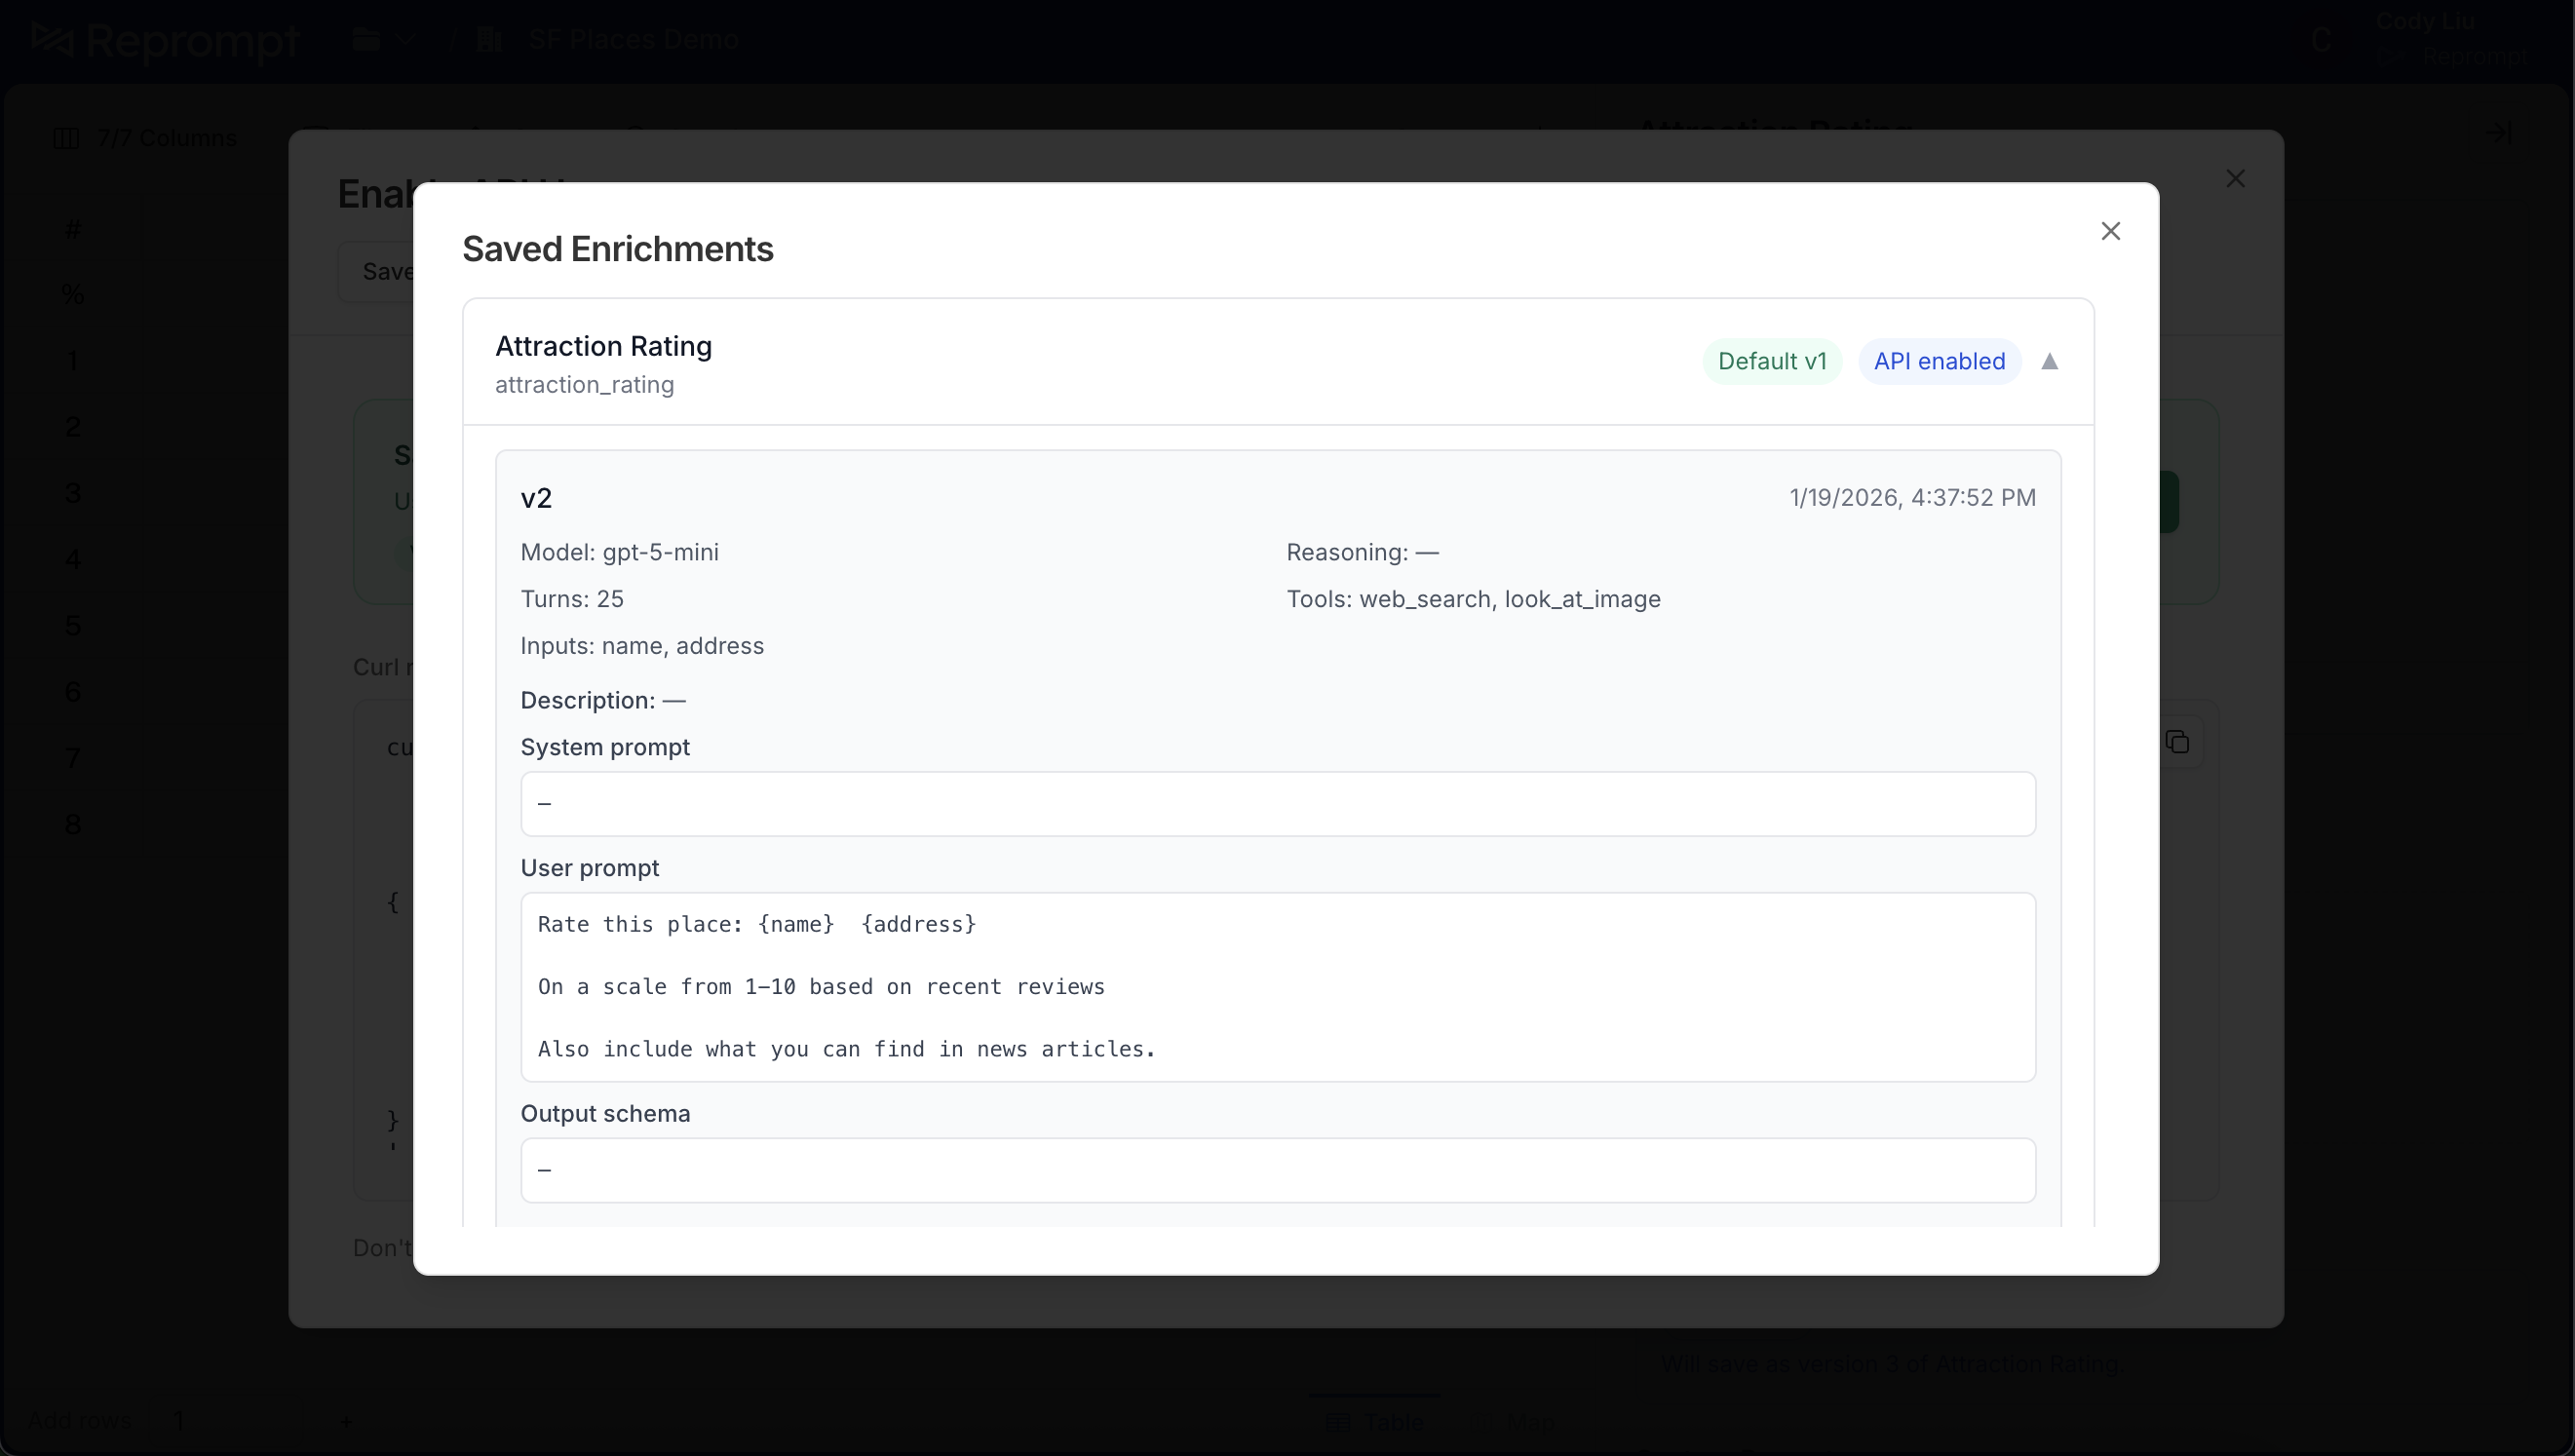
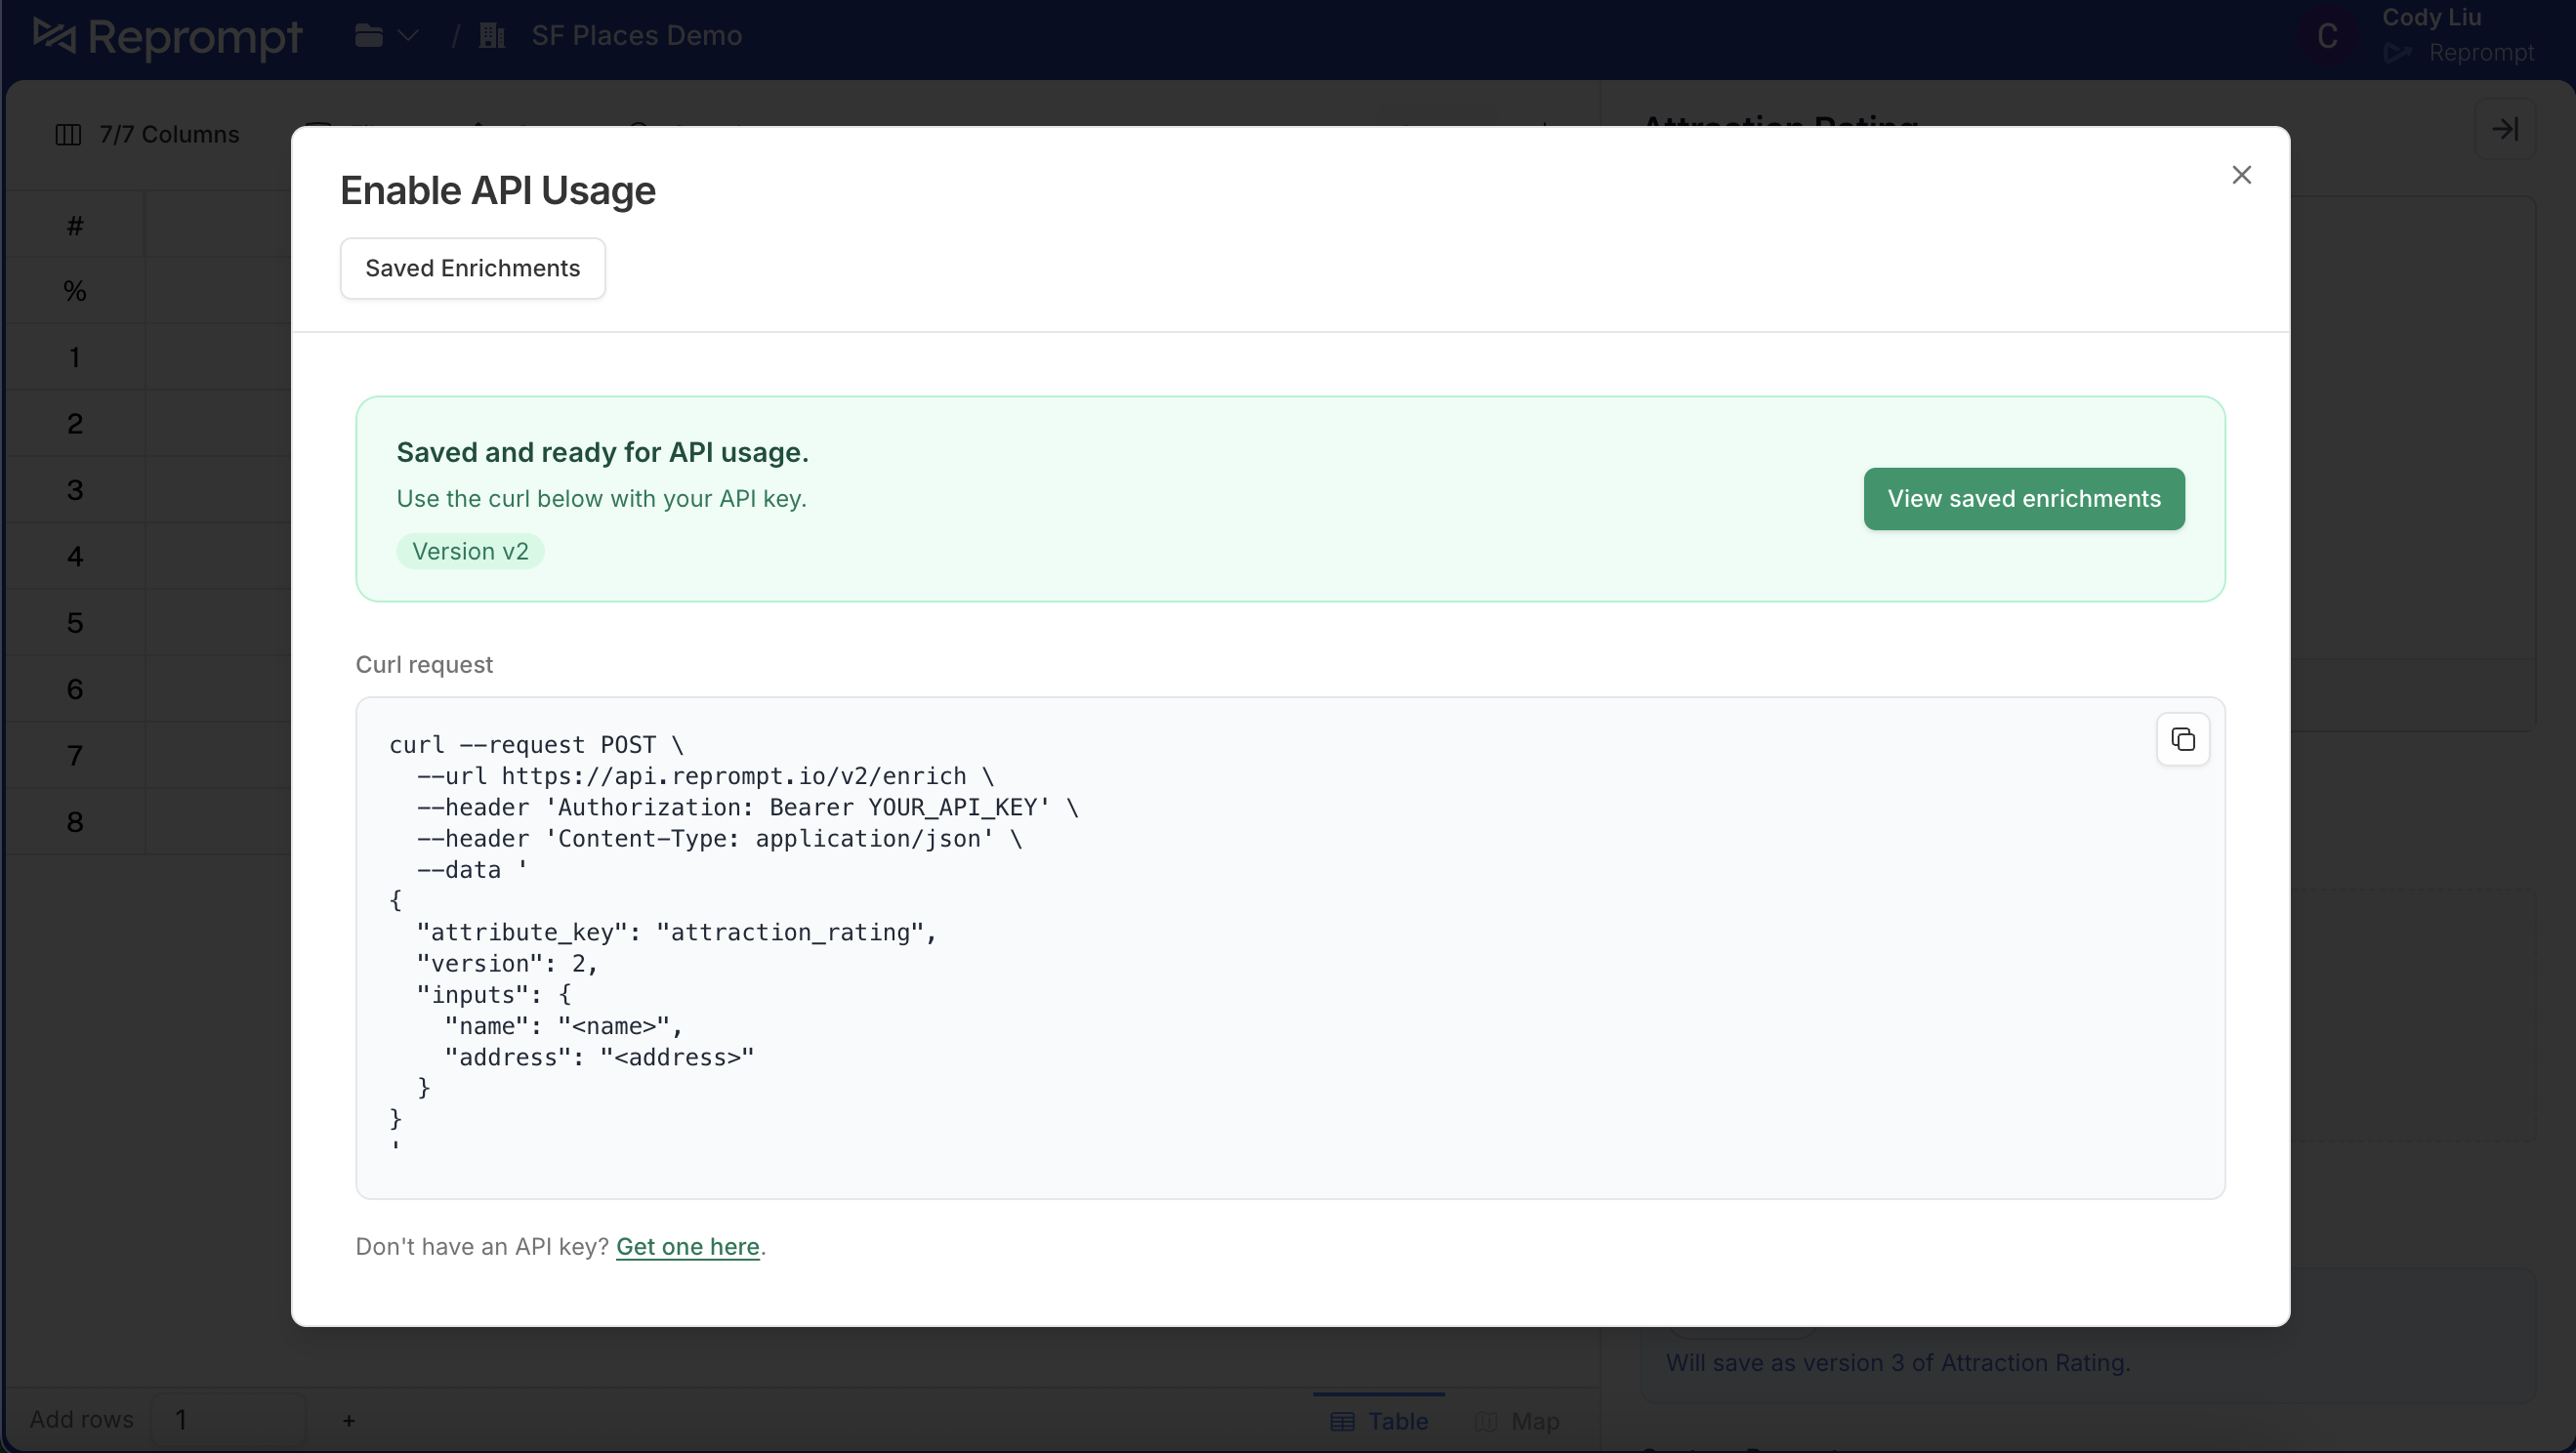
Click **Saved enrichments** to view all versions. The default version is labeled and shows **API enabled**.
## 6) Manage default versions
Click **Saved enrichments** to view all versions. The default version is labeled and shows **API enabled**.
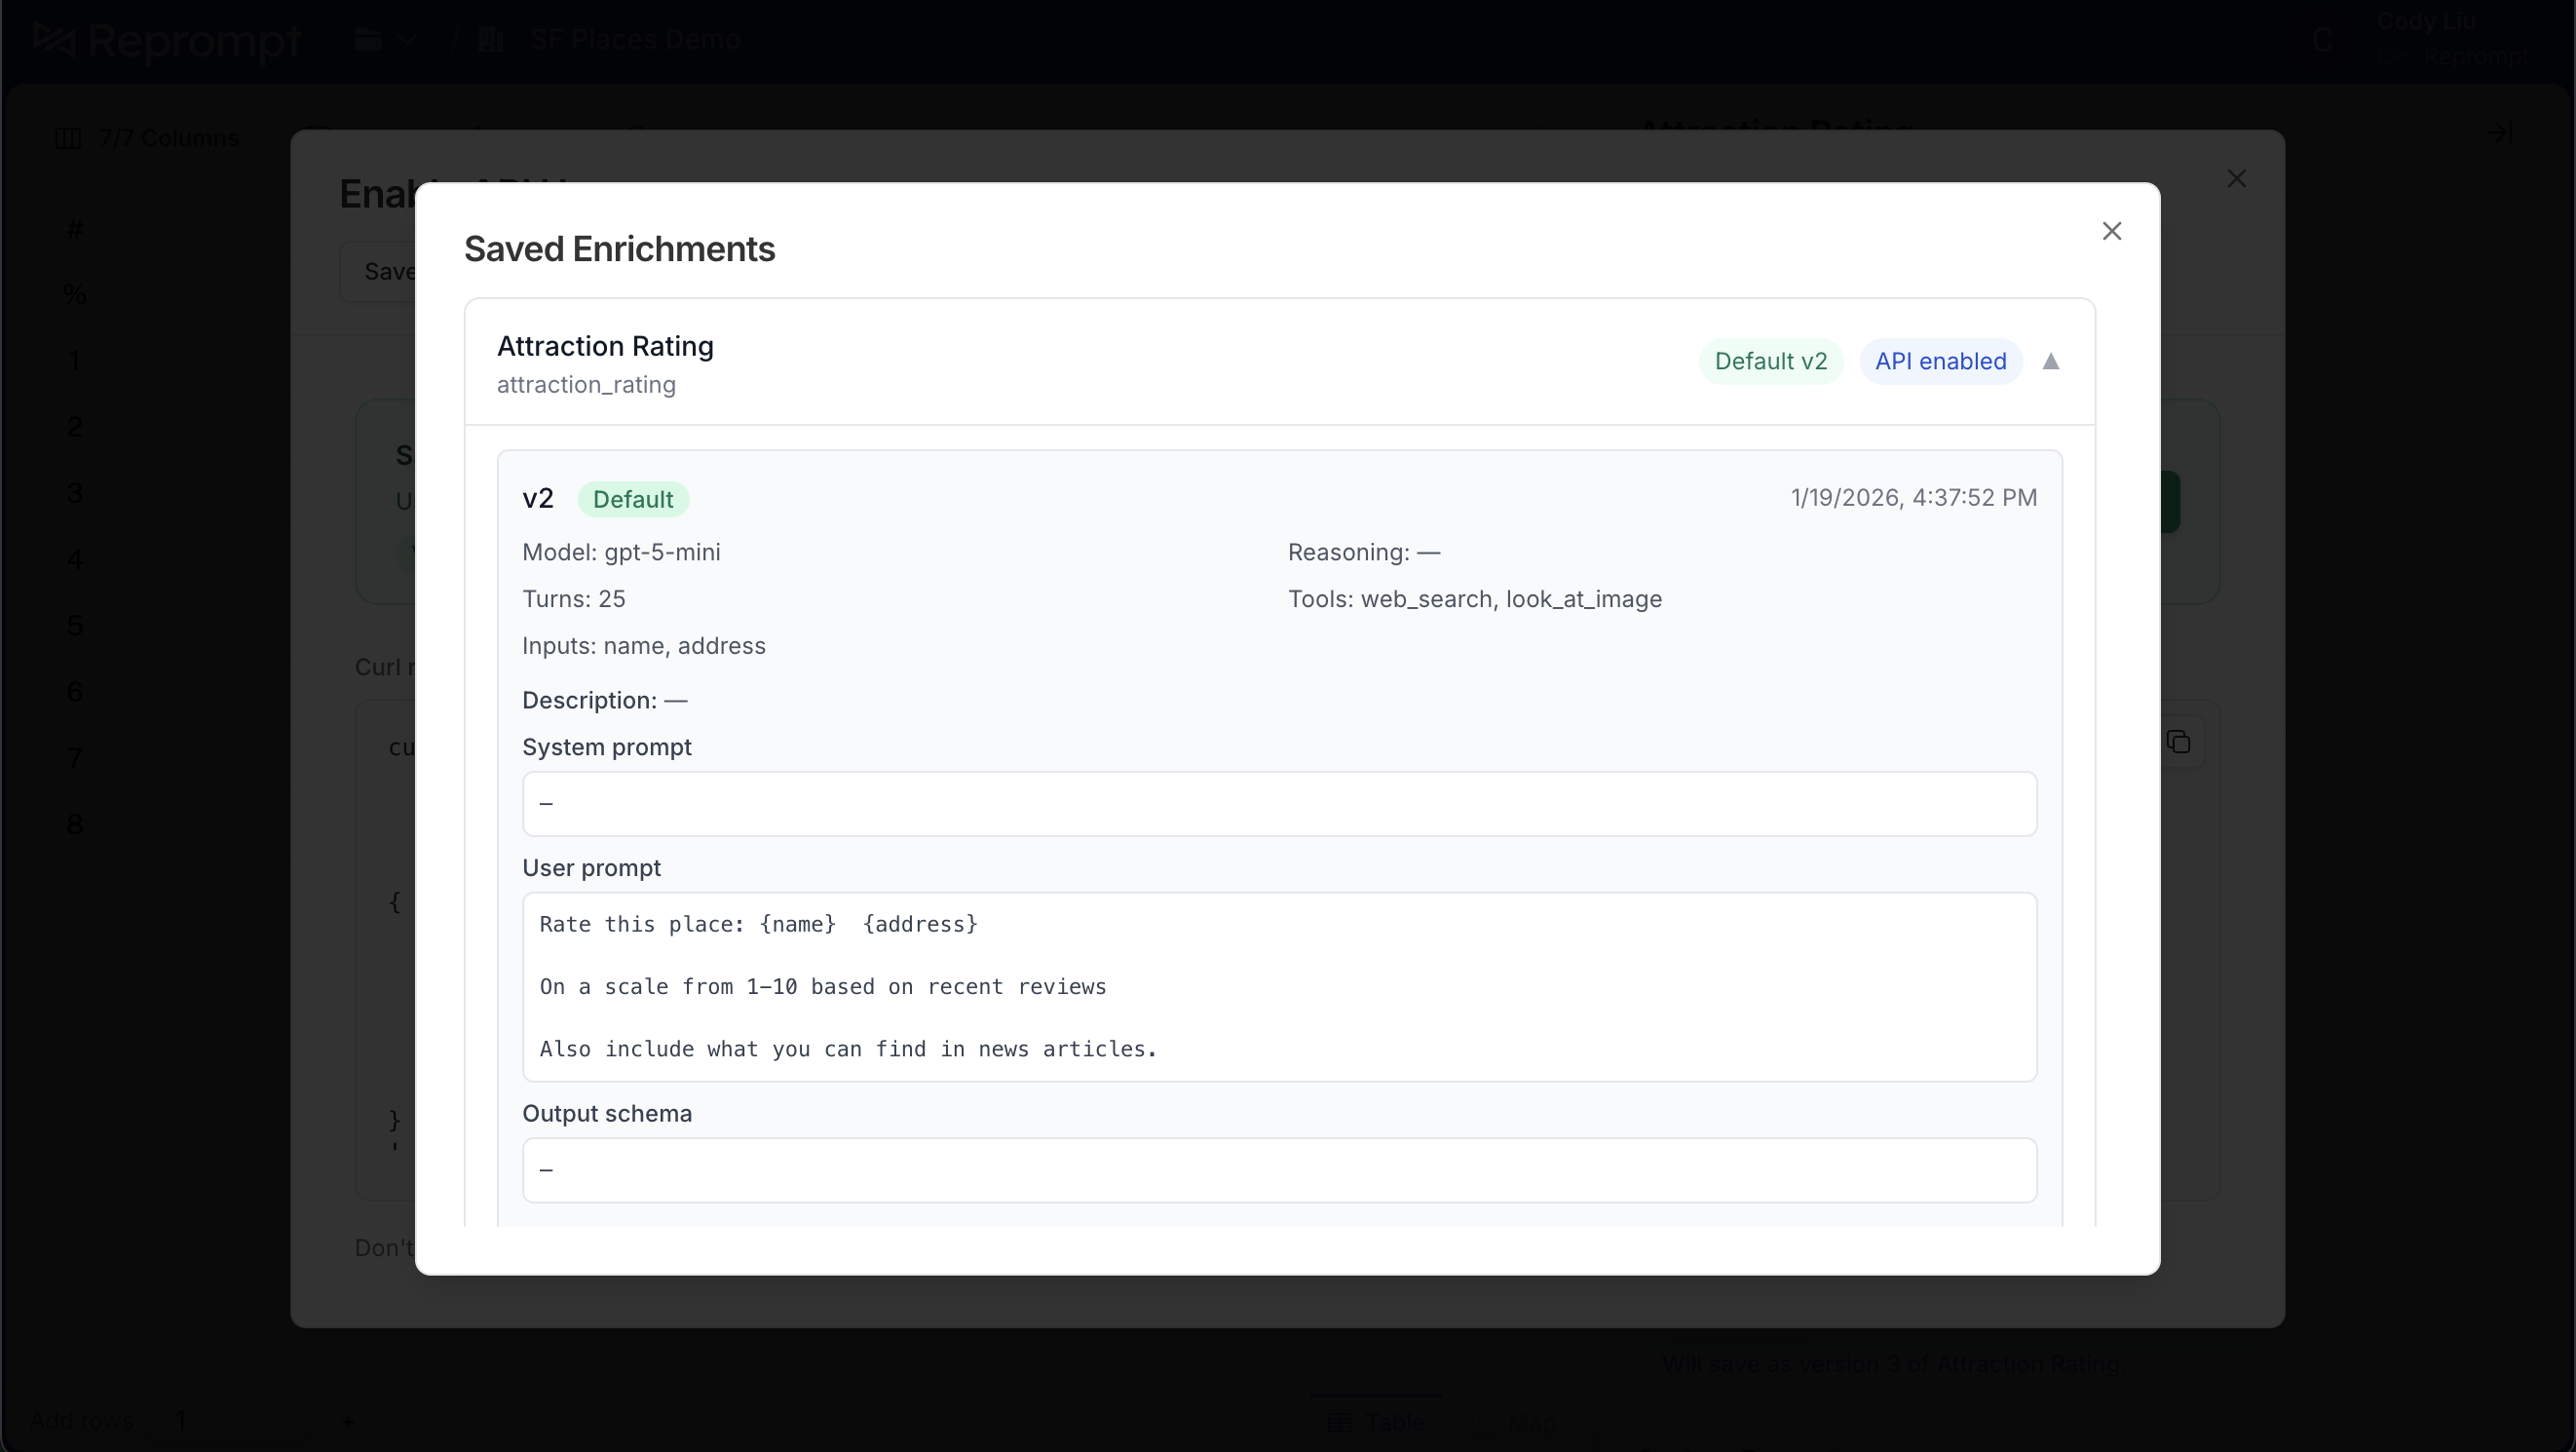 To change the default, find the version you want and click **Set as default**.
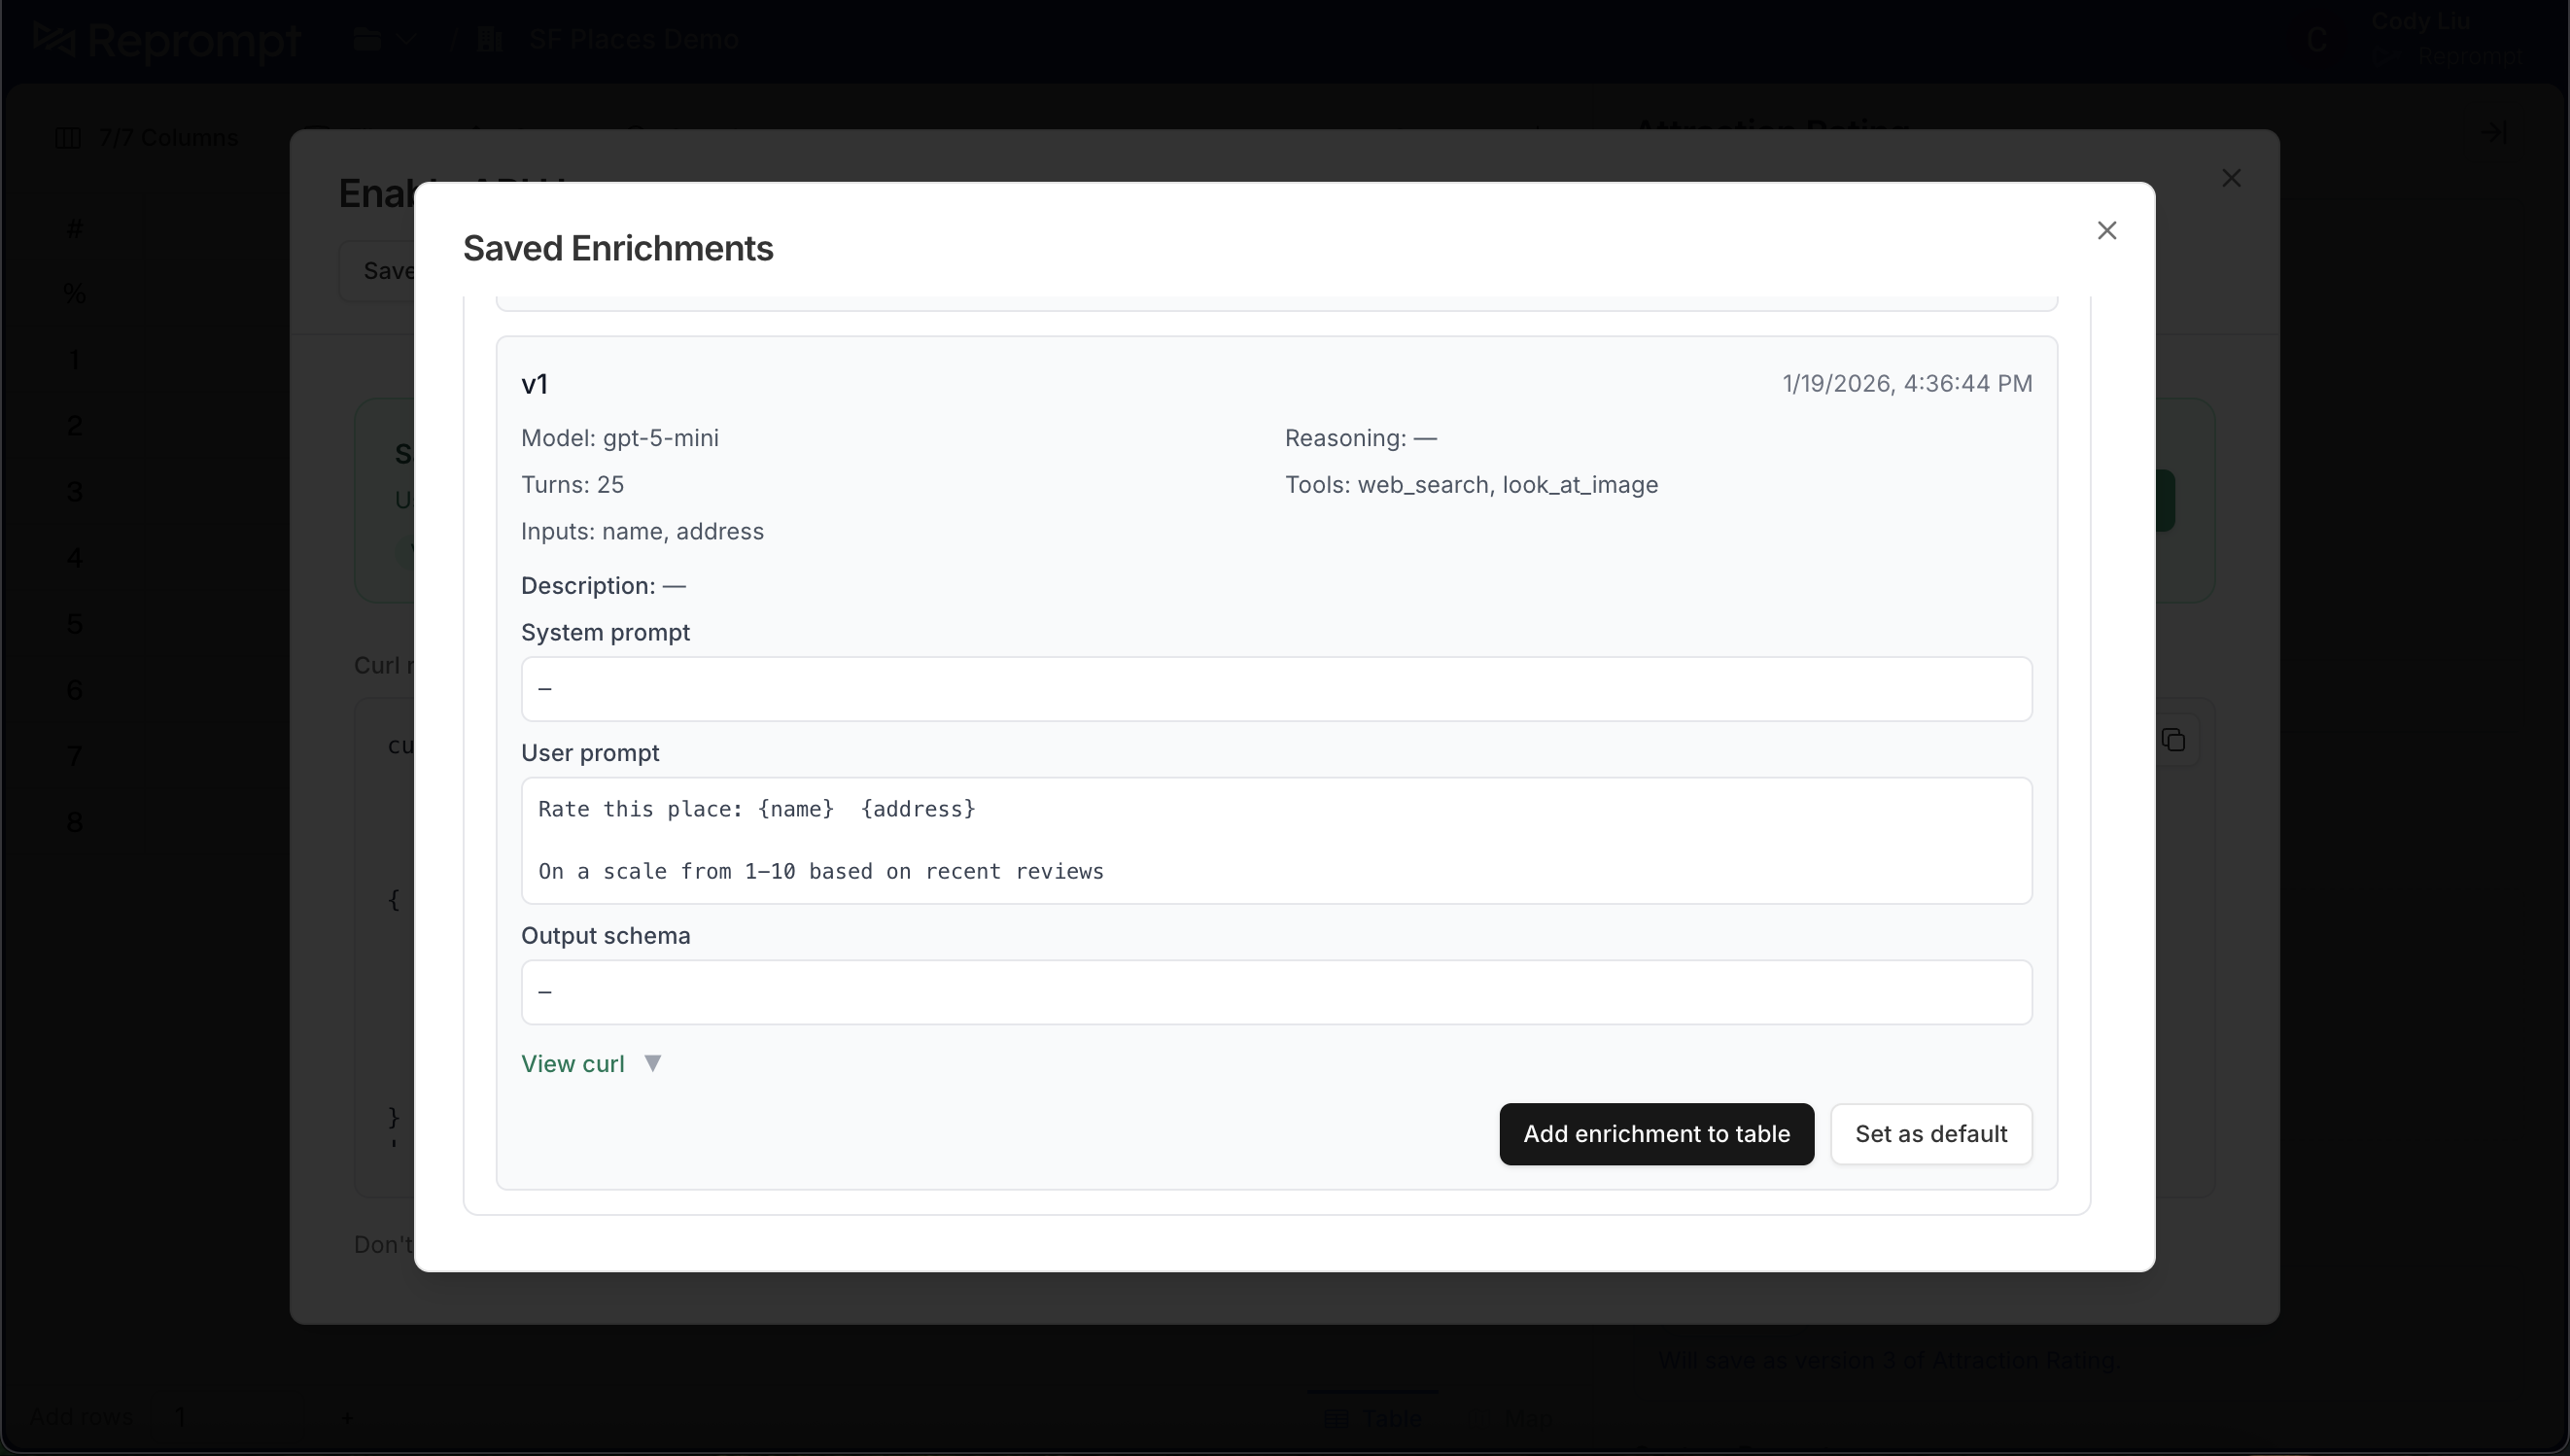 The header updates to show the new default. Calls without a version parameter will now use this version.